
The Leads → Leads Map (Tasks → Tasks Map) submodule displays all current leads/tasks on a map. Its main purpose is to provide estimators and office managers with precise task locations to guarantee more efficient daily planning.
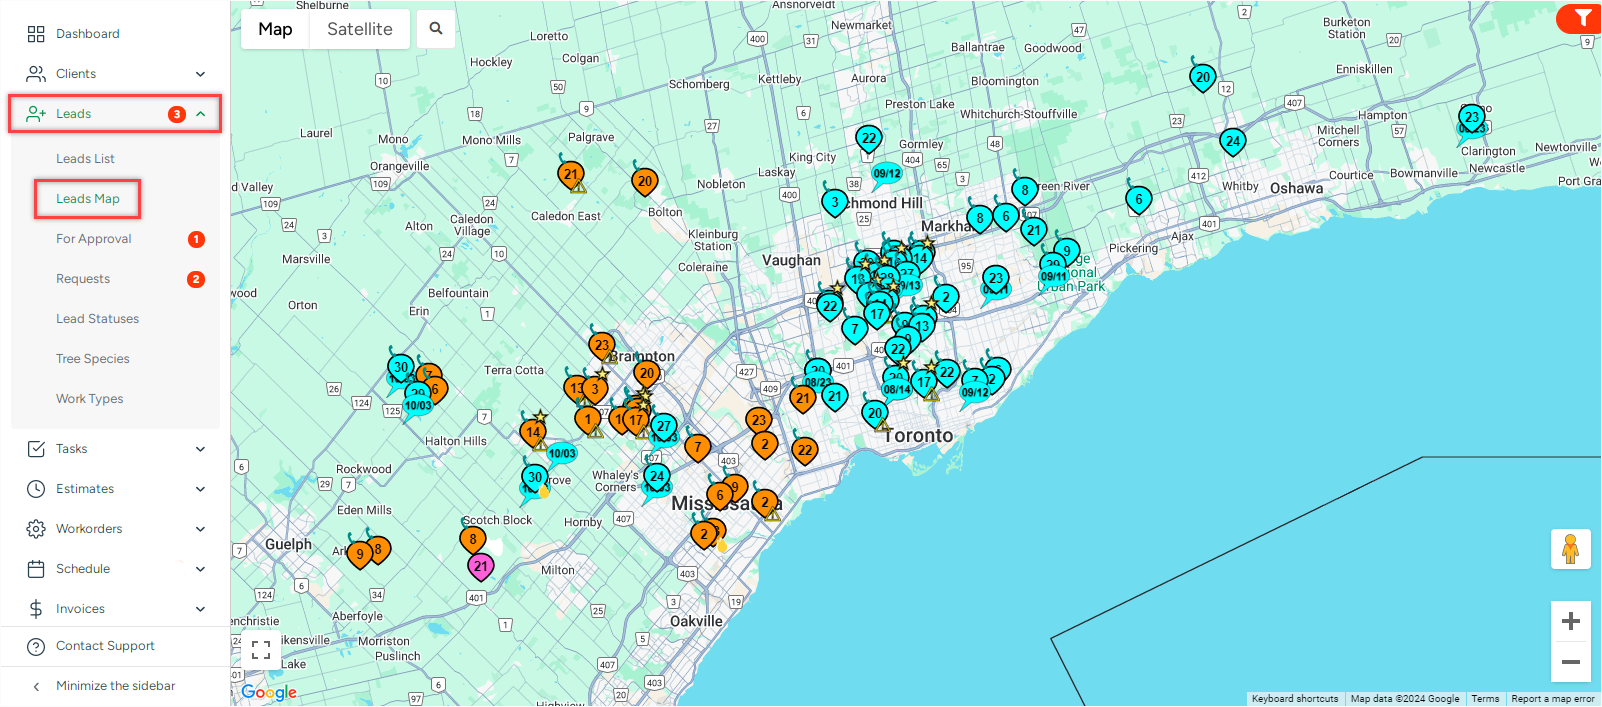
Both maps use the same functionality, except for Filters.
Please note that not all leads are displayed on the map. Check Lead statuses article for details.
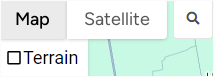
The buttons in the upper left corner of the map are used to change the map's view to a satellite. Adding a tick next to Terrain displays the physical map based on the actual terrain of a region.
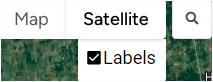
- Click the Satellite → Labels to remove labels from the screen.
- Click the Loop button to search for a specific lead/task by the assigned contact's information (Name, Phone Number, and Email)

Leads
All lead pins are displayed as droplets on the map.
| The color of the lead pin can be either lime-green for unassigned lead, or if the lead is assigned to the estimator, the color will change to the respective estimator's color, which is specified in the User management settings | 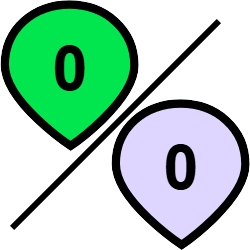 |
| If the customer has at least one completed project, their pin will be marked with a star. |  |
| If the customer prefers to be contacted via phone call, their pin will be marked with a phone icon. | 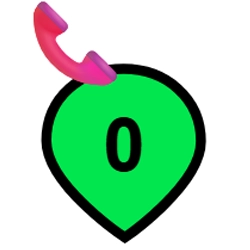 |
If the lead status is priority or emergency, the pin will have a warning⚠️ or fire🔥 sign, respectively. | 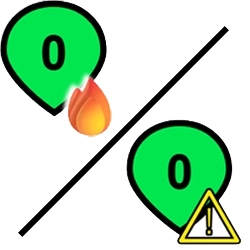 |
| The number in the middle of the pin shows how many days have passed since the lead creation. |  |
Click on a pin to view the lead's details.
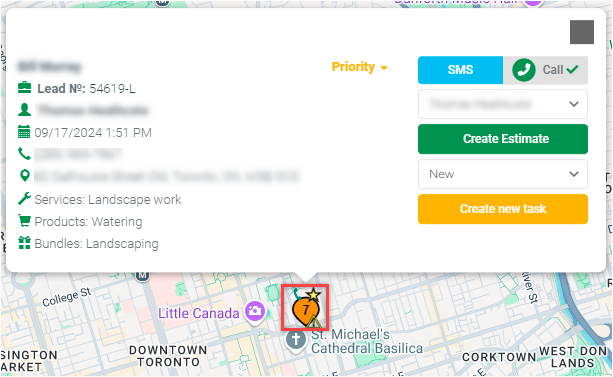
The left side of the newly appeared window contains:
Client name
Lead №
Assigned estimator
Date of creation
Project address
Services/Products/Bundles
The right side of the window contains:
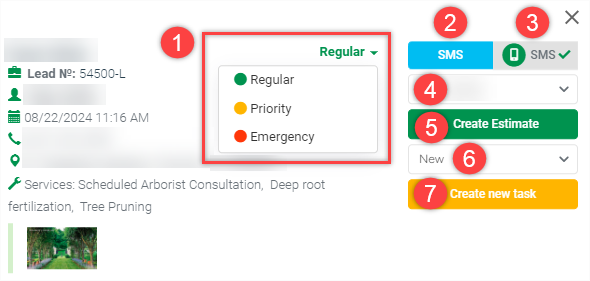
- Lead type
- Send SMS button
- Preferred communication method selector (Call, SMS, or Email)
- Assign an estimator field
- Create Estimate button
- Lead status selector
- Create New Task button

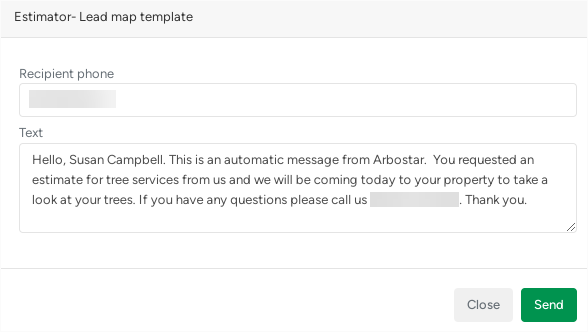
The Send SMS (blue) button allows sending the SMS directly to the client, using the corresponding template.
Tasks
All active tasks are displayed as speech bubbles on the map. The numbers on it indicate the scheduled date of the task. Click on a pin to view/edit the appointment details such as:
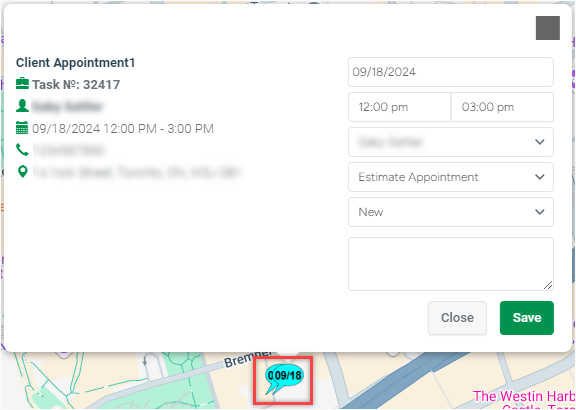
Task category
Task №
Assigned estimator
Scheduled time and date
Client's phone number
Task address
Task-related notes
Filters
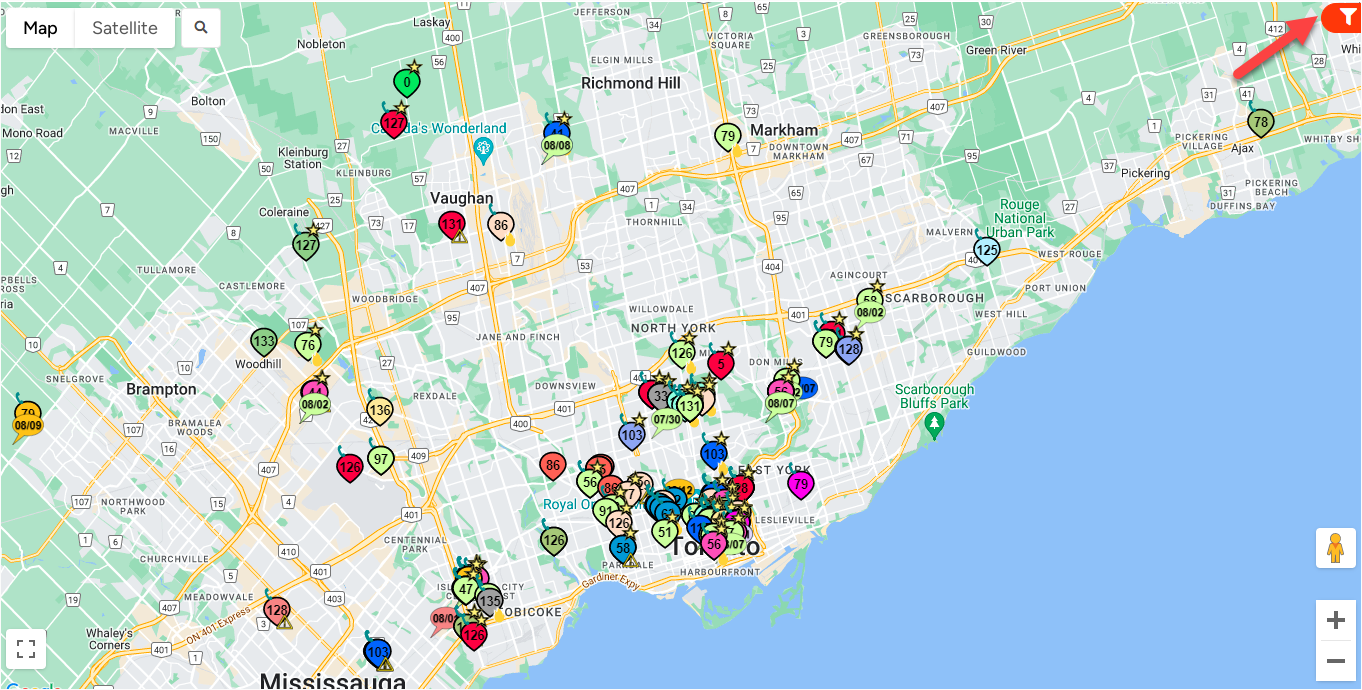
The red button in the upper-right corner opens the side menu filters, which allow you to choose the objects displayed on the map.
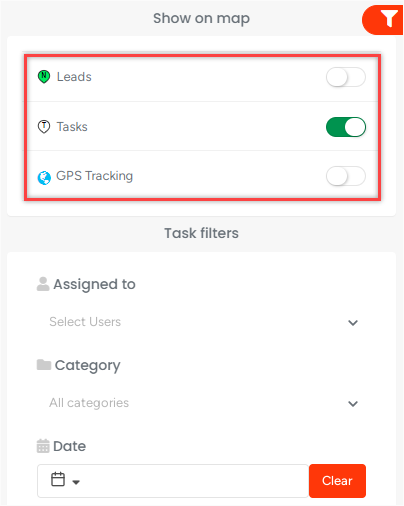
Show on Map
In this section, you can choose to display (or hide) Leads, Tasks, and GPS Tracking pins on the map.
- Switch Leads/Tasks toggle ON to display leads/tasks on the map.
- Switch GPS Tracking toggle ON to display all estimators (with permissions Require GPS to track time Access, and GPS tracking set to Yes) on the map as grey pins with initials.
Lead Filters
Lead filters appear only if leads were chosen to be displayed on the map with the following filtering options:
- Lead Priority
- Assignee - filters leads based on the assigned estimator. It can be used to separate assigned leads from those that are still not assigned to anyone.
- Services, Products, and/or Bundles - filters leads by requested services, products, and bundles.
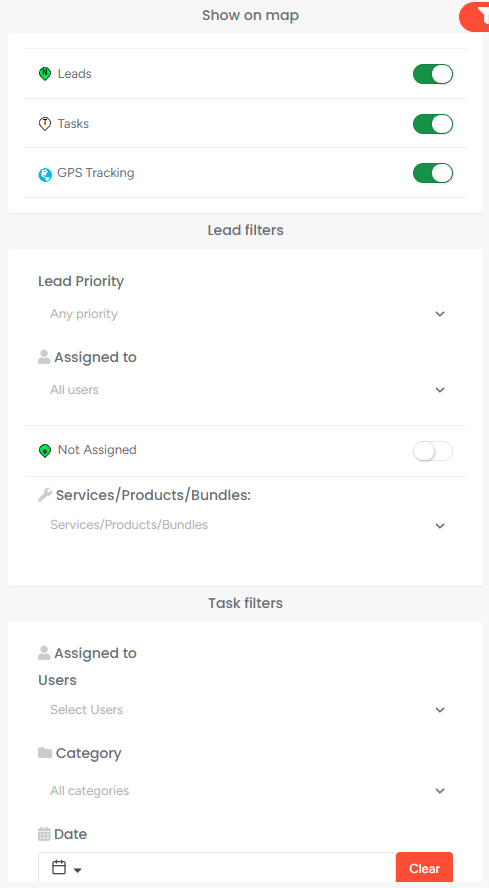
Task Filter
In the same manner, as Leads, Tasks can be filtered by:
- Assignee - filters tasks based on the assigned estimator. Please note that several assignees can be selected if needed.
- Category - filters tasks based on their categories.
- Date - filters tasks based on their scheduled date. Please choose among the following options: Today, Yesterday, Last 7 days, Last 30 Days, This Month, Last Month, or set a Custom range. Clicking the Clear button will remove this filter.
To set a Custom range using the date picker the first and last days of the period should be selected. Click Apply to confirm the chosen period or click Cancel to hide the date picker.
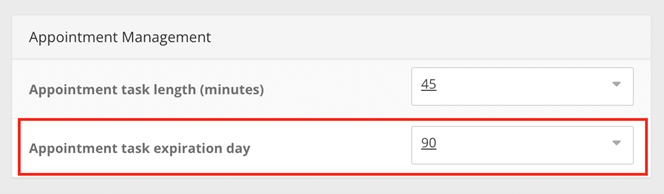
Tasks Expiration Date
Task expiration limit can be set at the Company Management → Appointment Management → Appointment Task Expiration Day. All tasks older than the selected number of days will disappear from the map, even if the set period in the Date filter includes them.
Multi-Pin Actions
Multi-pin actions serve as shortcuts and are mainly used to:
- Quickly assign an Estimator to multiple Leads.
- Quickly create Tasks for multiple Leads and assign an Estimator to them.
To use this function, please press and hold the CTRL key (Command for macOS) and left-click on the required pins on the map (maximum 23). The selected pins will change their color.
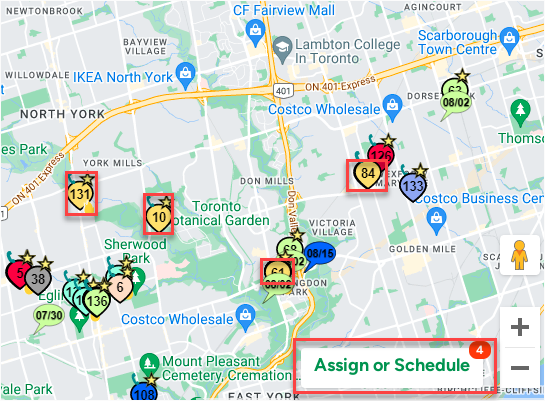
Assign Leads
Once multiple pins are selected, the Assign or Schedule button will appear in the bottom right corner. The badge indicates the number of selected pins.
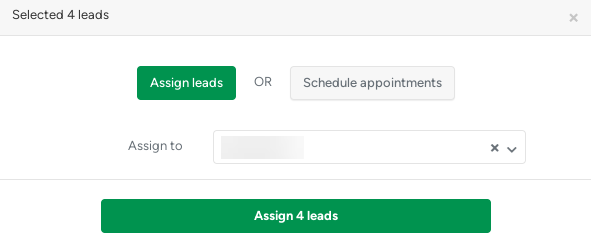
Schedule Appointments (Create Tasks)
To schedule appointments, please set the time/date and assign an Estimator for those tasks. When you are ready, please proceed by clicking the Schedule Leads. All newly created appointments will appear on the map and in the Office Schedule.
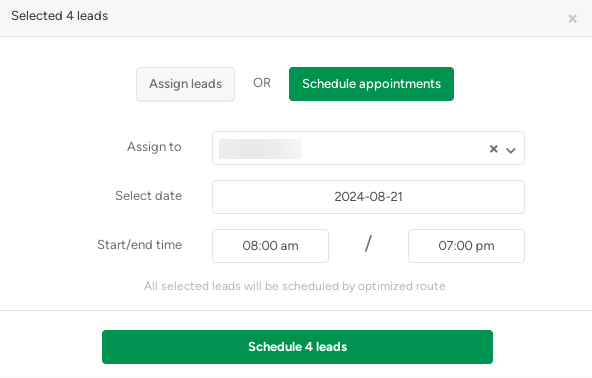
Please note to click the Schedule Leads button just once and wait until the pop-up window will close and the appropriate notification will be displayed on the screen.