
Invoice page
- The invoice is generated automatically when the status of the corresponding Workorder is changed to 'completed'. To access the invoice page, navigate to the client's profile and click on the Invoice profile.

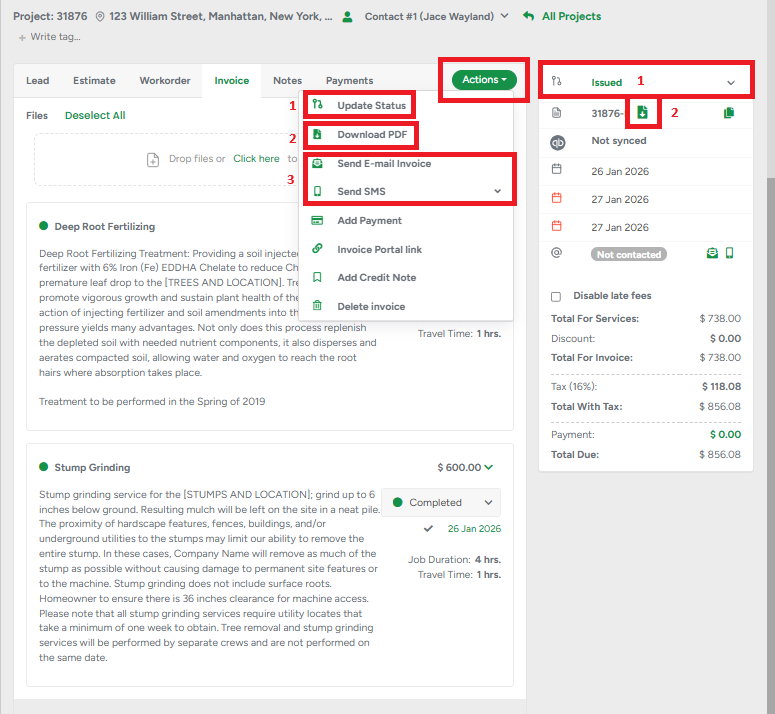
- On the Invoice page, you can change its status, share the invoice link with a client, add payments and much more. All those functions can be found under the dedicated Action button. Options such as
- Update status;
- Download PDF;
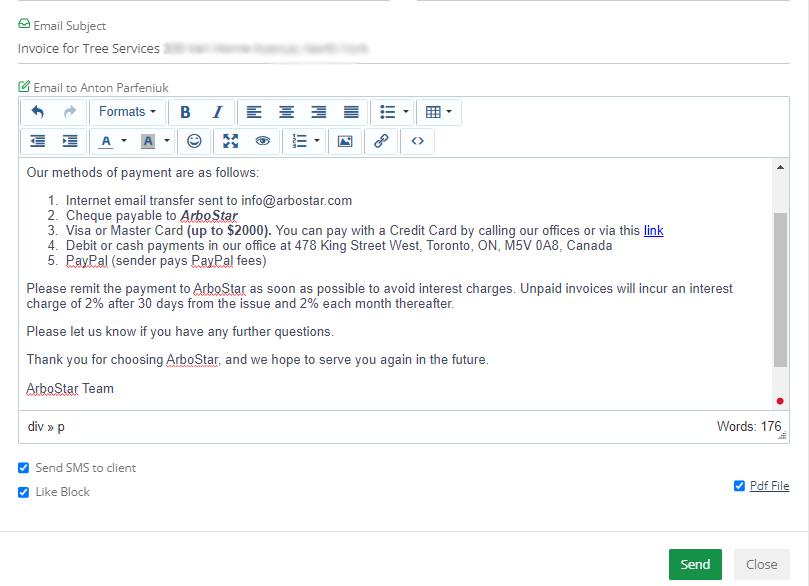
- Send Email or SMS is carried out to the quick access panel. To send the invoice to the client via email or SMS, please choose the corresponding option from the Action menu. Be advised that you can edit the email message to meet your requirements.
If the SMS service is activated for the company, you can also send SMS to the clients that the invoice has been sent via email.
Please note, you'll be presented with the option to automatically send the invoice PDF to the client right after confirming to change the WO status to Completed.
Clients can make payments and confirm via the Portal link in the email. Click here to learn more.
Partial invoices
- Partial Invoices can be issued for one or several completed services from Workorder.
- To create a partial invoice, you can either change the status of services to Completed manually and then click on the Create invoice button, or you can mark the required services and click on the Create Invoice.
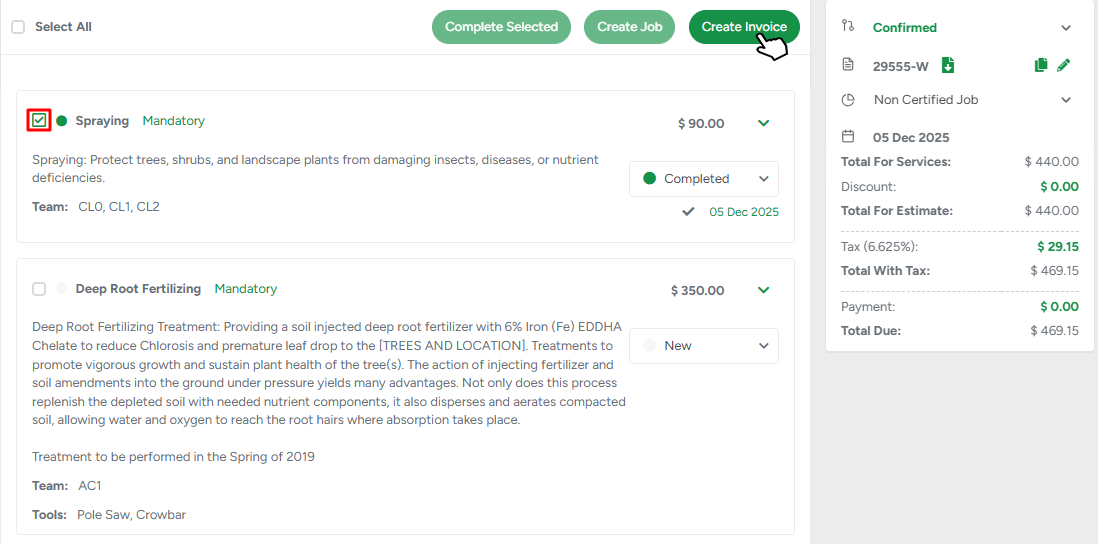
In case services weren't marked as completed, the system will propose to update their statuses automatically.
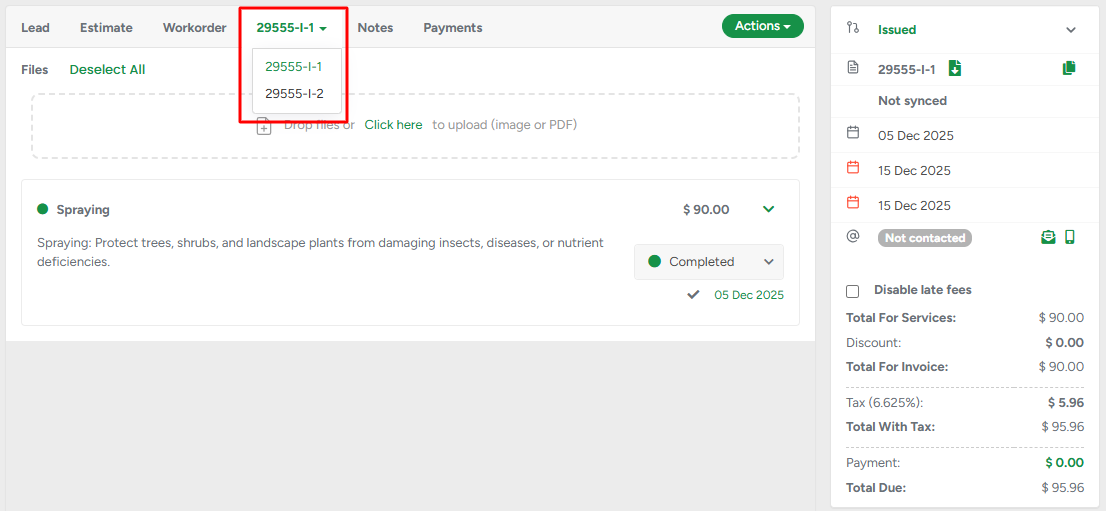
- In case the project has multiple partial invoices, each invoice is going to be subsequently enumerated. Once both (or more) partial invoices are generated, you’ll be able to switch between them from the drop-down menu.
Adding a payment
- To add a payment, click on the Actions → Add payment button. In the pop-up window, fill out the payment information and click Add Payment.
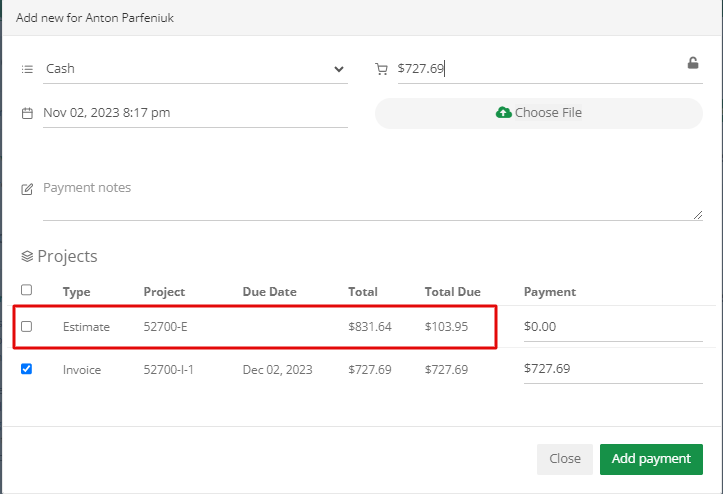
Please note that you can add both full and partial payments. However, when adding a payment, the total due amount of the estimate is automatically filled out. Thus, the sum should be added manually for partial payments.
You can also add a payment from the client's profile by clicking on the Add Payment button.
- If you want to send the Thank you for the Payment email manually, you can easily do it from the client's profile page.
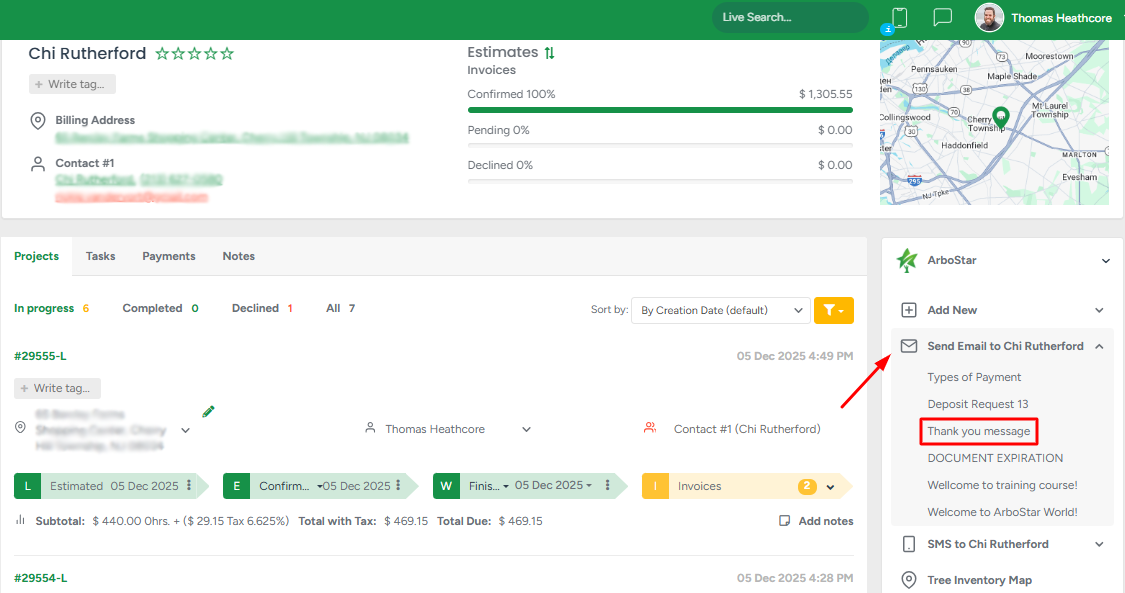
When an invoice is fully paid, an automated “Thank you for the Payment” email appears that you can send to the client.
Synchronization with the accounting platform
Credit notes created in the system are automatically synchronized with the company’s connected accounting platform (Xero, QuickBooks, Sage, or Fortnox). Each credit note is transferred as an individual record linked to its original invoice.
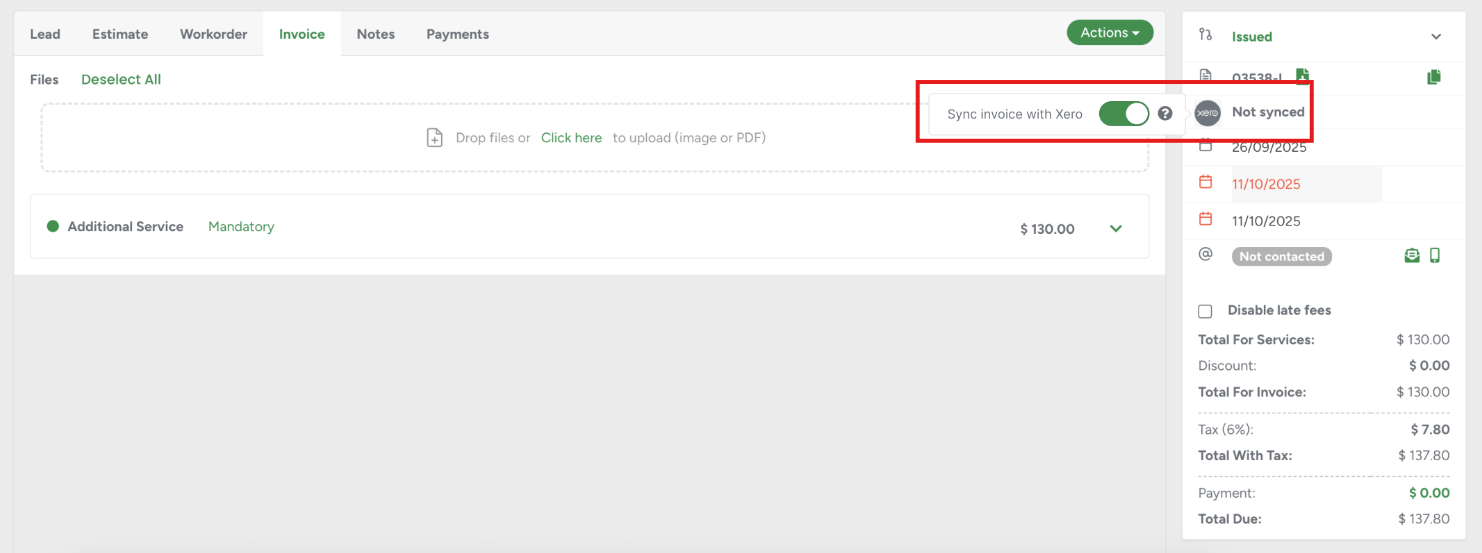
- On the Invoice Profile, the accounting system icon is always displayed next to the invoice number. The system shows either the accounting invoice number (if synced) or “Not synced” (if not synced).
- Clicking the icon opens a pop-up with a Sync invoice with the [Xero, QuickBooks, Sage, or Fortnox] toggle.
- When automatic sync is disabled for the client type (Residential, Commercial, or Municipal), new invoices display “Not synced” and can be manually synced by turning the toggle ON.
- Once enabled, this individual invoice syncs immediately, the accounting invoice number is displayed, and the toggle becomes locked and cannot be turned off.
If you would like to turn on or off automatic invoice syncing, please contact your dedicated manager or send an email to info@arbostar.com for assistance.
Manual Interest Removal
In case the client didn't pay in time, the status of the invoice will be changed to Overdue automatically, and the interest will be applied to the project. Overdue interest can be manually removed from invoices without contacting a support representative. The flow with built-in safeguards prevents misuse and logs all changes for transparency.
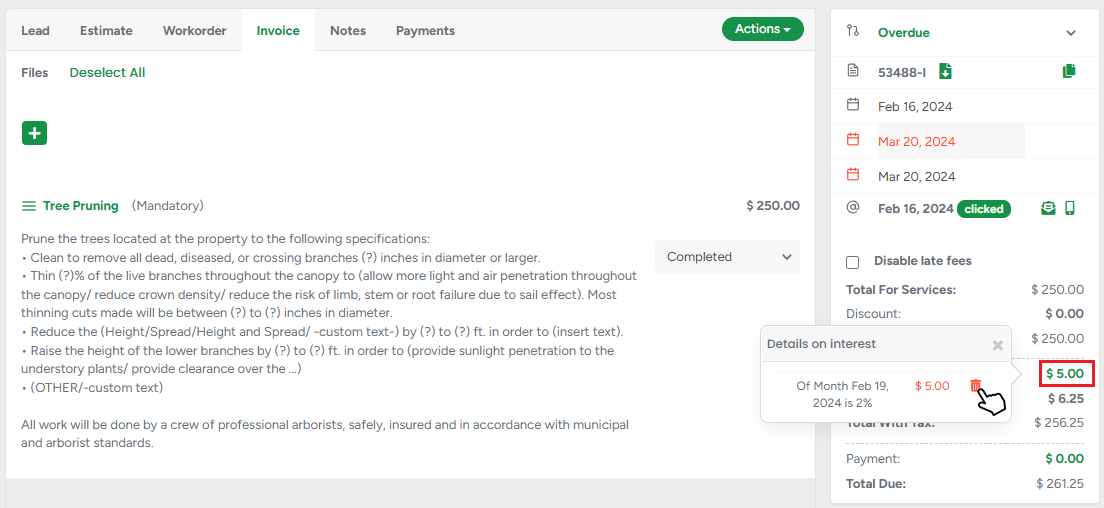
Interest settings in Company Management support different rates and conditions based on client type (e.g., residential, municipal, commercial). Admins can enable or disable interest applications per client type, with added validation to prevent 0% or 0-day configurations.
Feedback on Invoice portal page
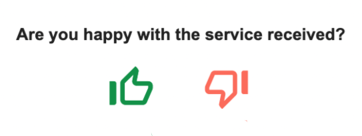
- Your clients can easily leave you feedback on the Invoice Portal page.
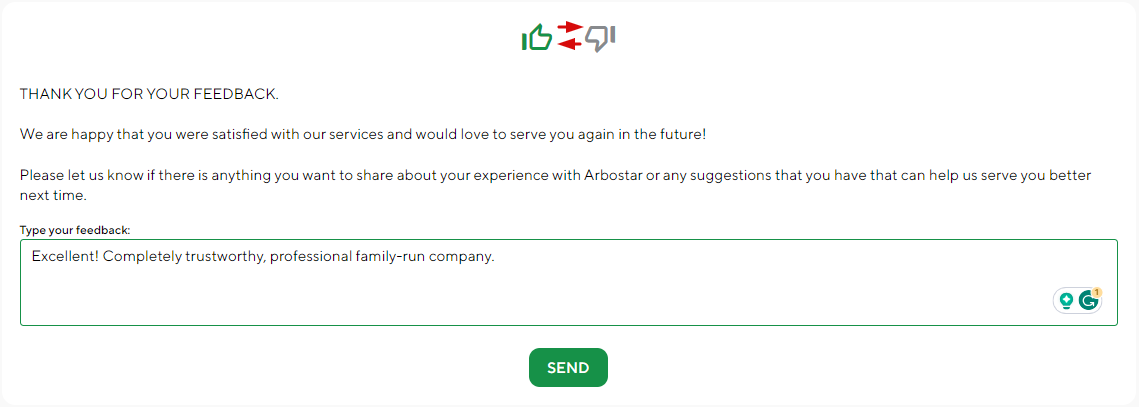
When sending an invoice to the client, clients can click on the updated Like and Dislike buttons that will forward them to the respective portal page.
- On the feedback page, the client has an option to change the Like to Dislike and leave a comment.
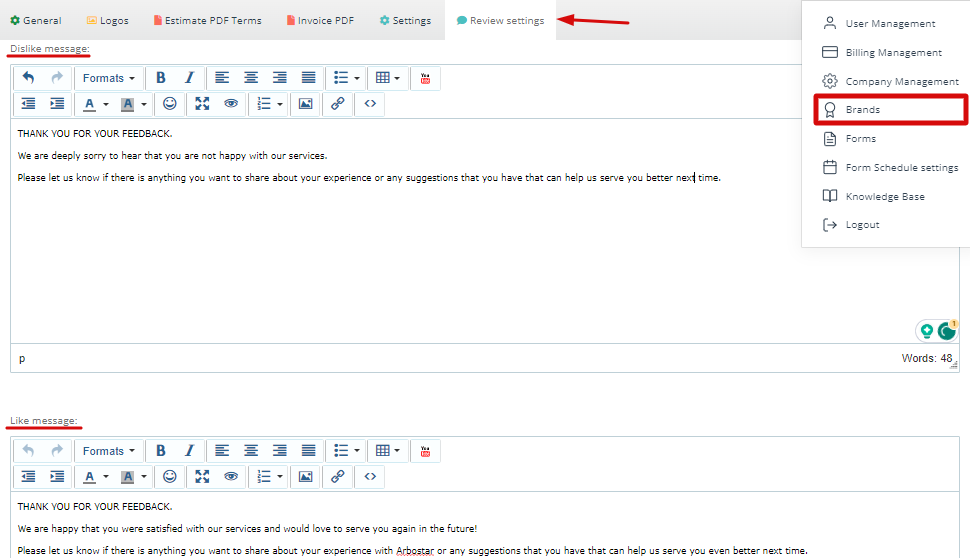
- To edit the message the clients see on the Feedback page, navigate to the Brands → Review Settings → Like message or Dislike message section.
Credit Card, Debit Card, and ACH Payment Processing
Transaction fees are configured during the activation of your payment processor account. Depending on your setup, processing fees can either be:
- Passed on to the customer, or
- Absorbed by your company
Debit cards do not incur processing fees. Fees only apply to credit card transactions.
ACH bank payments also have zero processing fees, making them a cost-effective payment option. However, ACH payments typically require 3–5 business days to fully process and clear.
Learn how ACH payments work here
To ensure accurate fee handling, our system uses a secure BIN (Bank Identification Number) check to automatically determine whether a card is a debit card or a credit card during the payment process.
If your company accepts offline payment methods such as cash, checks, Venmo, Zelle, or other custom payment types, you can contact our support team to have additional offline payment options added to your account. These payment methods can then be selected when manually adding payments to a project or invoice.