
The Schedule → Office Schedule is an appointment calendar for creating and managing office-related and estimators' tasks. Let’s explore its features.
The schedule
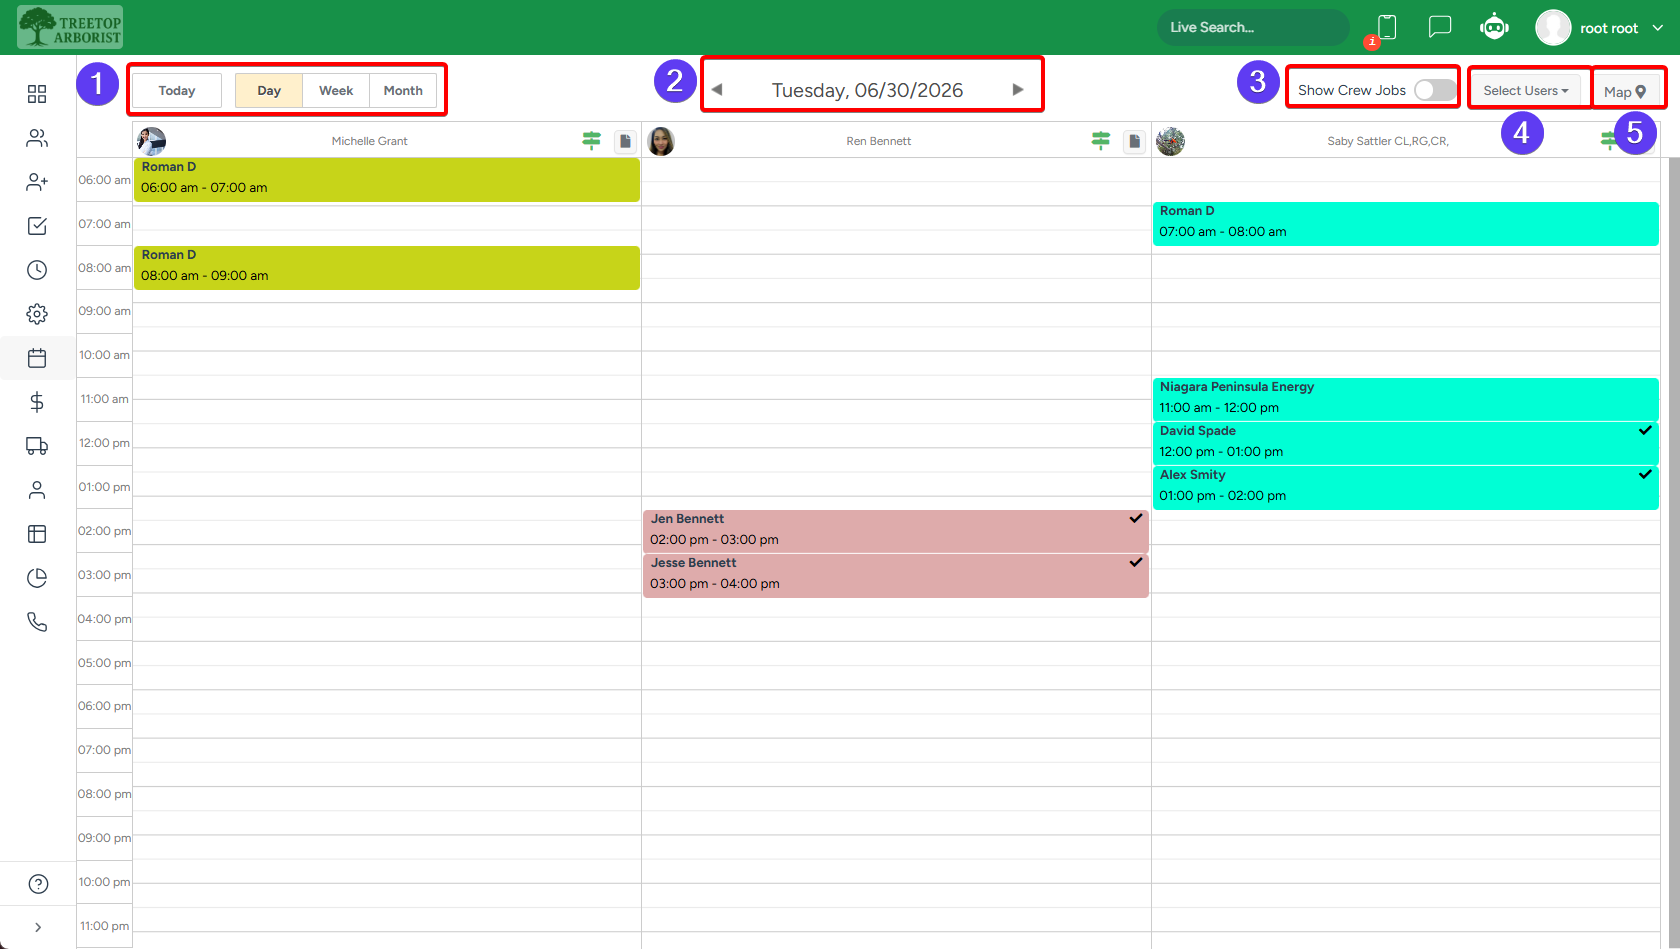
1. Today, Day, Week, or Month toggle changes the calendar view to the selected time frame. Click the Today button to return to today's schedule.

2. Click the < and > arrow buttons to navigate through the prior or following periods (depending on the view);

3. Show crew jobs - a toggle that can show or hide the crew schedule jobs.
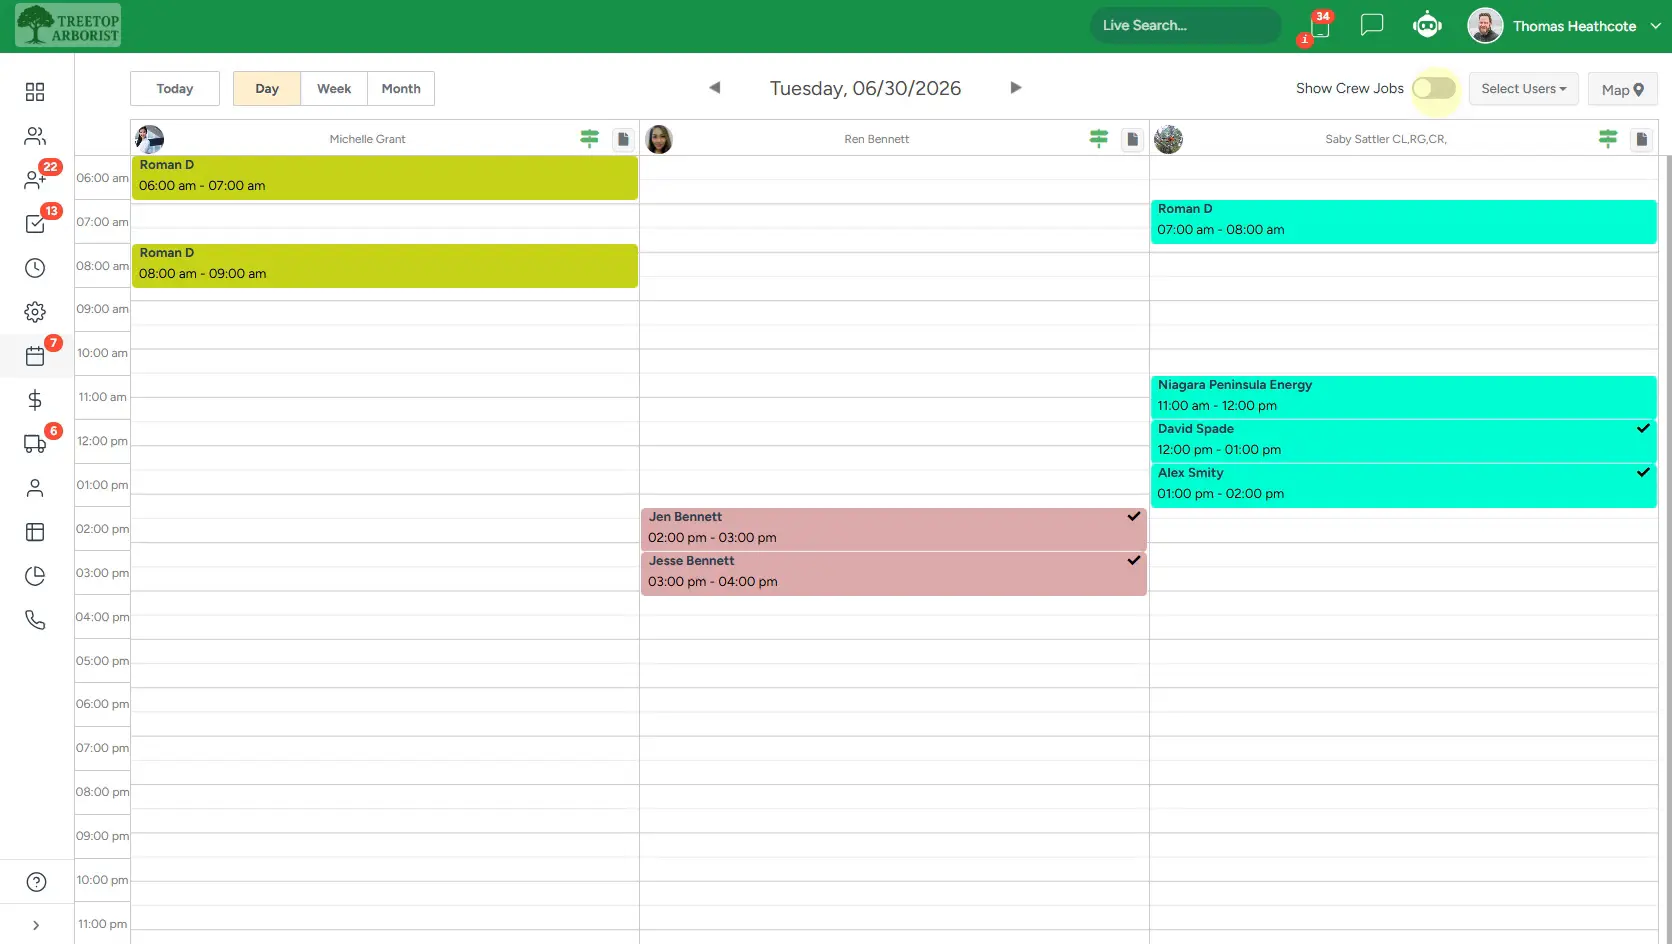
4. The Select Users displays the list of all support users. Click All users to select all employees at once, and Users with tasks to display only personnel with assigned appointments.

Once employees are chosen they'll be automatically added the PDF copy of the roster.
5. Click the Map to view the route map with pinned appointments and the estimator's itinerary for the day.

Each row corresponds to an estimator and has two more buttons: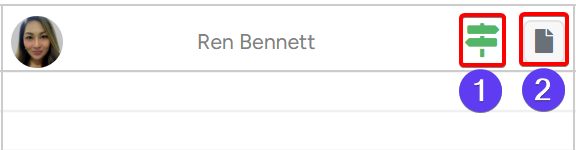
1. The route optimisation
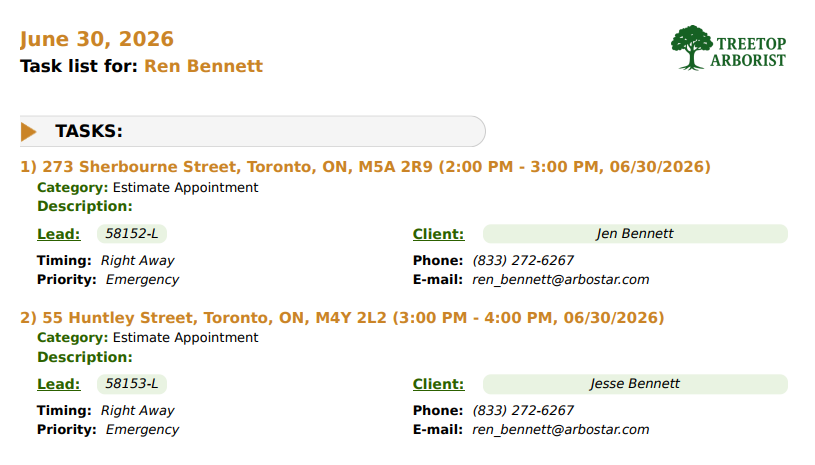
2. Estimators' agenda as a PDF file
Available on the Day view only.
Route map
The Route Map visualizes the best route between tasks, helping estimators plan their day more efficiently and enhancing the overall productivity of the company.
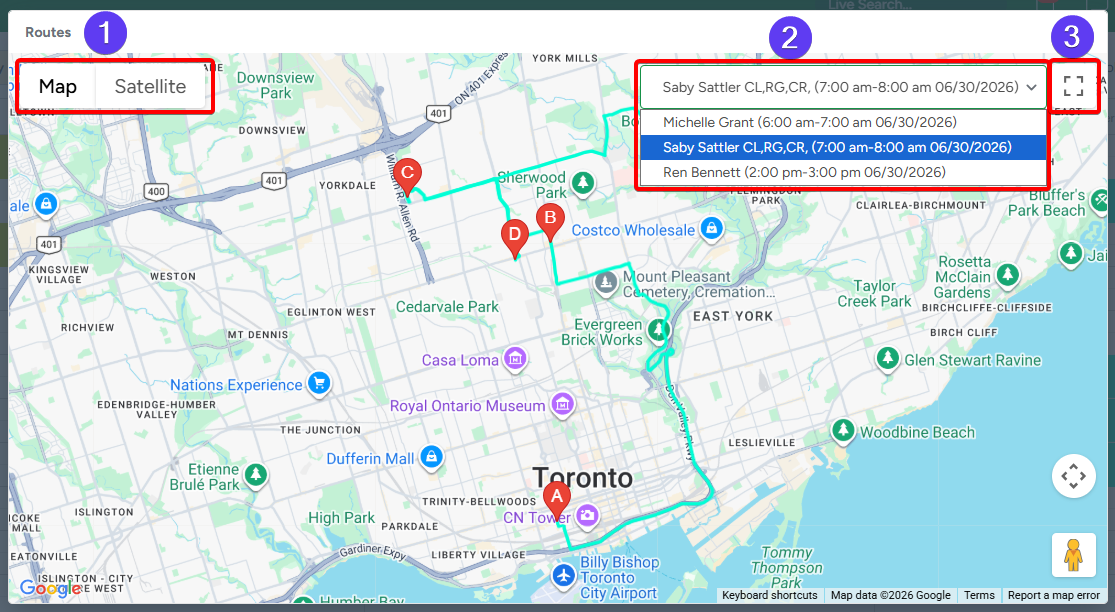
1. Flat map / Satellite toggle - use it to change the type of map.
The Satellite view also allows you to hide labels.
2. Choose estimator - use it if you want to see the route of one specific estimator.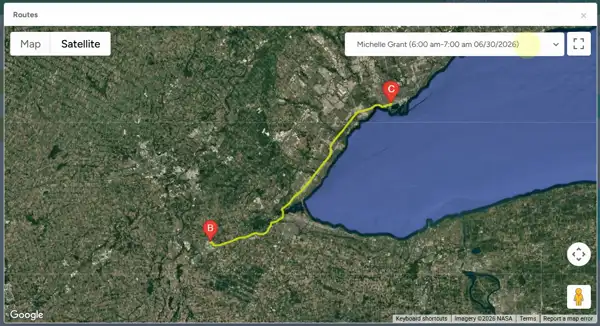
3. Full screen view of the map
Task creation
New tasks can be easily created and assigned directly from the office schedule at any time, making it an extremely useful tool for operations management.
- To create a new task, double-tap or click and drag the cursor on a calendar to set an appointment time. In the pop-up window, fill in the event details and click the Create Task button to confirm your inquiry.

- To adjust the task duration, you can either move the cursor to the bottom of the task and drag the arrow up or down to set the desired time or double-click on the task to open the Update Task window.
Click on the task to reveal more buttons: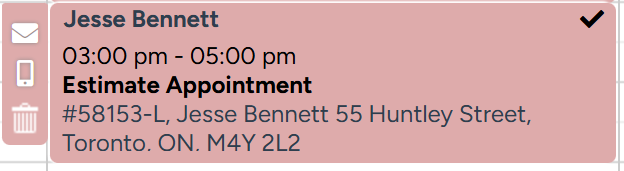
- To send an email to the client or estimator, click the Email button.
- To send an SMS to the client or estimator, click the Phone button.
- To delete the task, click the Bin icon.
To link a lead to an event, enter the client's name and select a lead from the newly displayed drop-down menu. Please note that leads with a Declined status are not available for selection.
When you click on a task in the Schedule module - the Office Schedule submodule, one of the following scenarios will take place:
- If the task is linked to a specific lead, you will be redirected directly to that Lead Profile page.
- If the task is linked only to a client, it will go to the Client Profile page.
This will apply to all Task Types.
Tasks linked to clients display the client's name as the card header. However, it is possible to set a task address as a card header. For that, please navigate to the Company Management → Office Schedule "Address" as card Title and turn the switcher ON.
 |  |
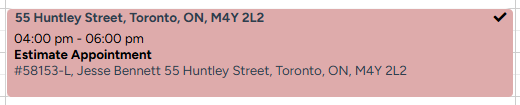 |  |
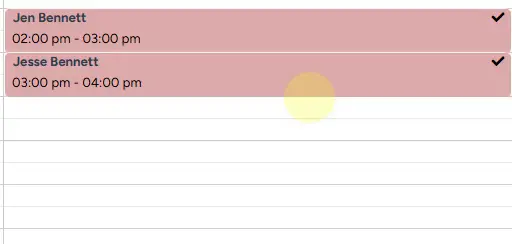
The color of the task can represent the appointment category or the employee. Learn how to set the preferences in our Task Categories article.
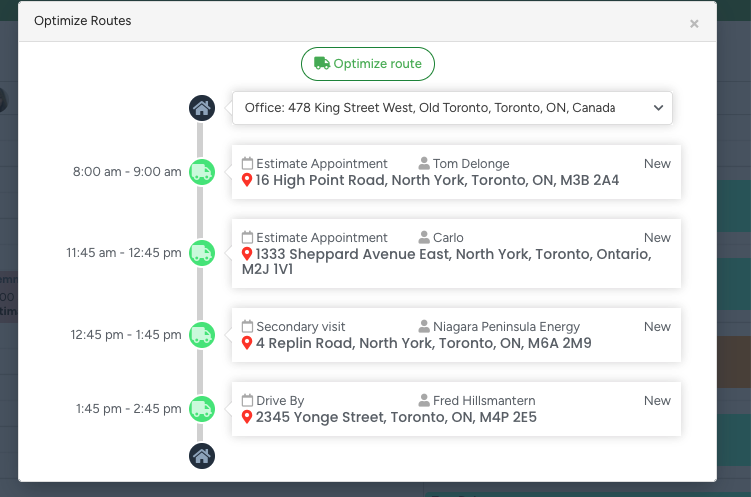
Route optimisation
Route Optimization helps estimators automatically reorder daily tasks that require travel to external locations. The Optimize Route icon appears in the Office Schedule when a selected worker has tasks that are eligible for optimization.

When clicked, the system checks for eligible tasks and generates an optimized job sequence using task addresses. A preview modal is shown before applying changes to the schedule. By default, routes start and end at the Office (brand address), but users can change the start location (such as a saved Home Address). Changing the start location automatically recalculates the route.
Only tasks assigned to categories marked “Use in Route Optimization” are included. Non-location-based and office tasks are excluded and remain fixed in the schedule. The system validates that all task addresses are in the same country as the selected start location before optimizing.
Route Optimization follows scheduling rules to prevent overlapping travel tasks and supports up to 25 locations per optimization due to Google Maps limitations.
Click here to view a detailed guide on Route Optimization in the Office Schedule.
Google Calendar Integration
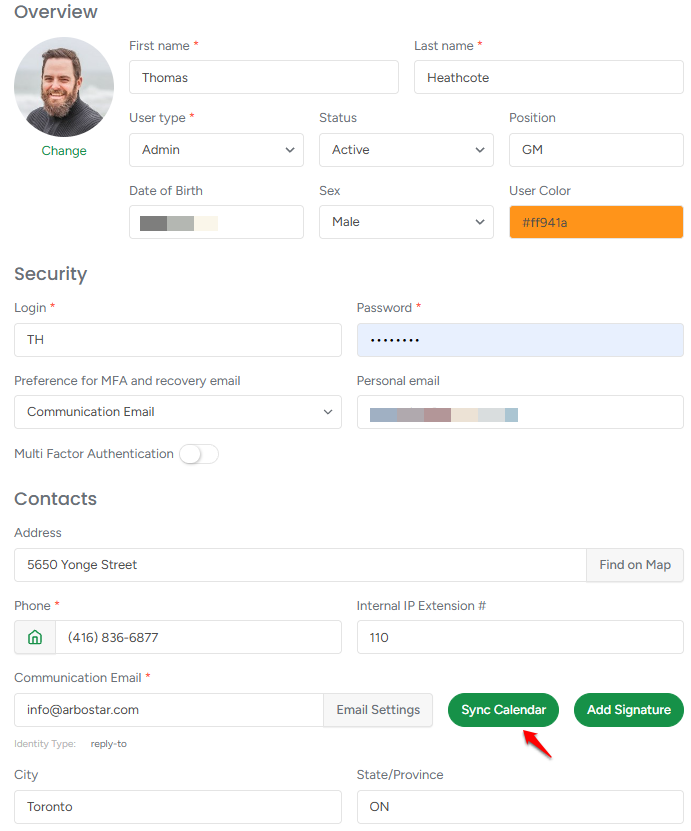
Estimators and office workers can sync their tasks with Google Calendar to stay organized and manage their appointments more efficiently. The option is accessible both from the app and web versions of ArboStar.
On the Web version, you can activate the synchronization from your User's Profile personally, or your manager can do it for you from the User Management section.
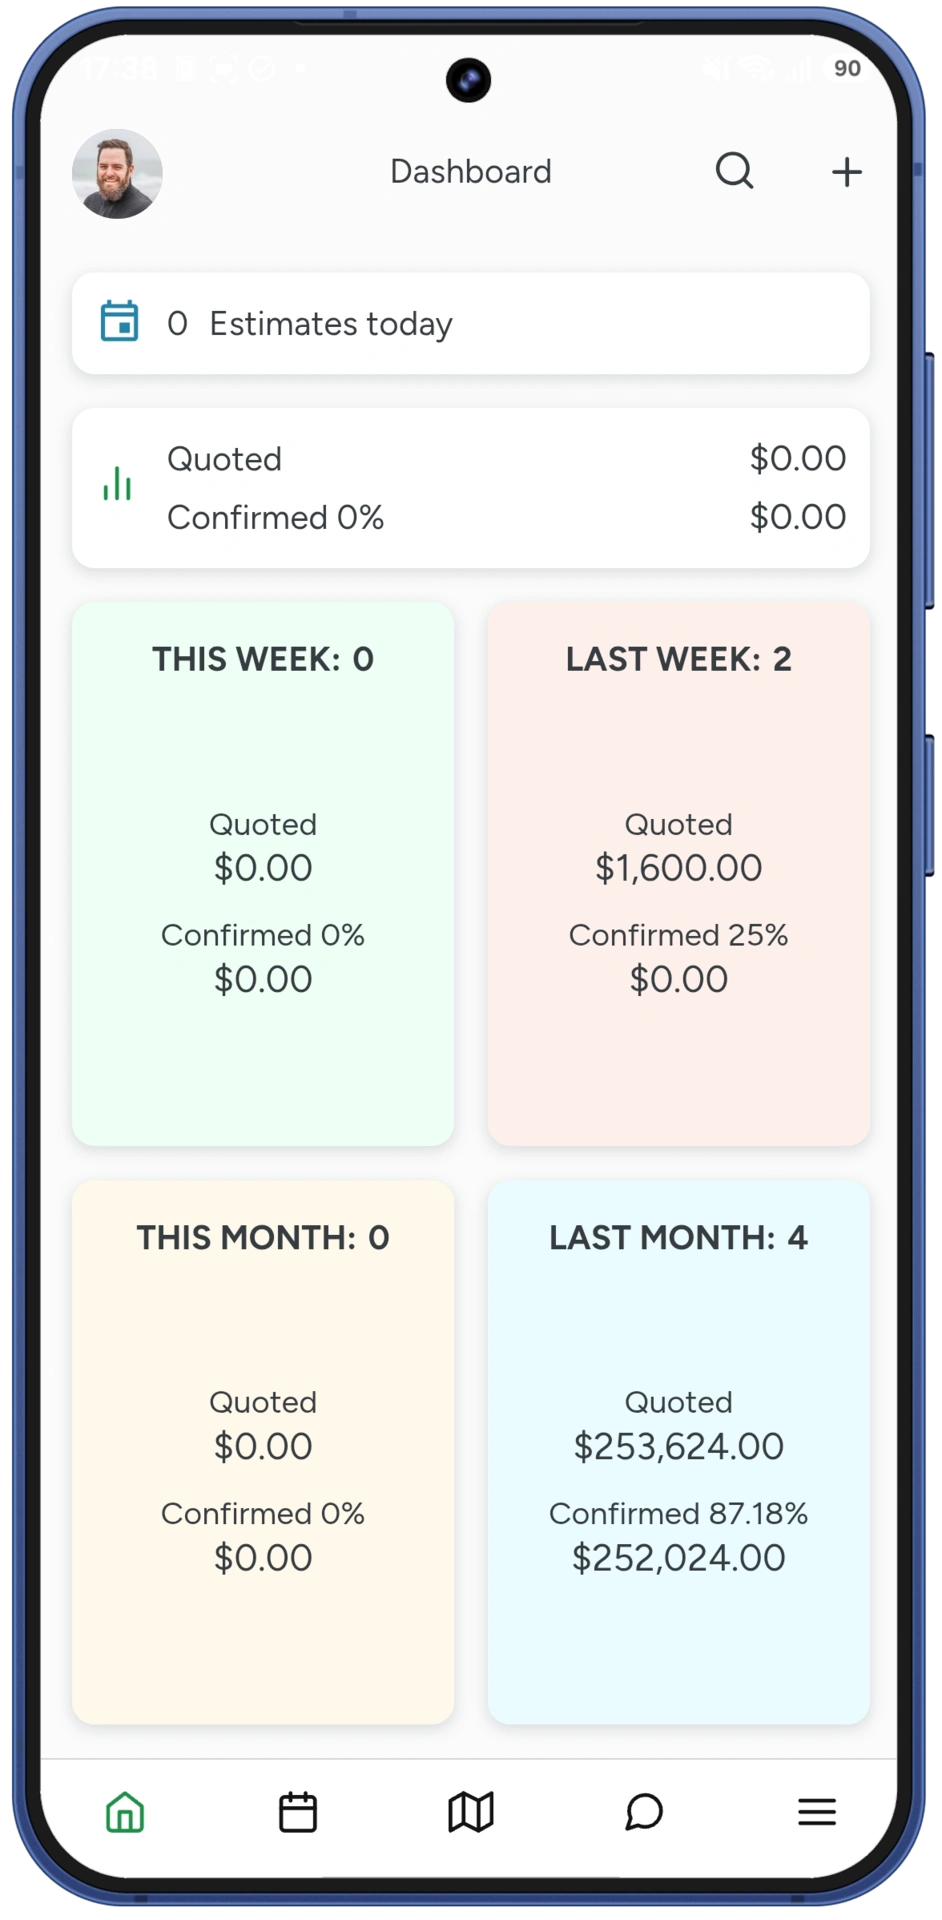
On the App version, navigate to Settings → Sync with Google Calendar (available only for Estimators).
When enabled, the system will ask you to authorize the integration.
Once authorized, all appointments from the Office Schedule will be automatically transferred to Google Calendar.
This is a one-way sync — learn more about Calendar syncing here.