Within this submodule, you can see information about all clients they need to follow up with. The data in this submodule appears once you create programmed messages, a manual Call type, or a manual Mail.
To navigate to this submodule, navigate to Clients → Follow Up.
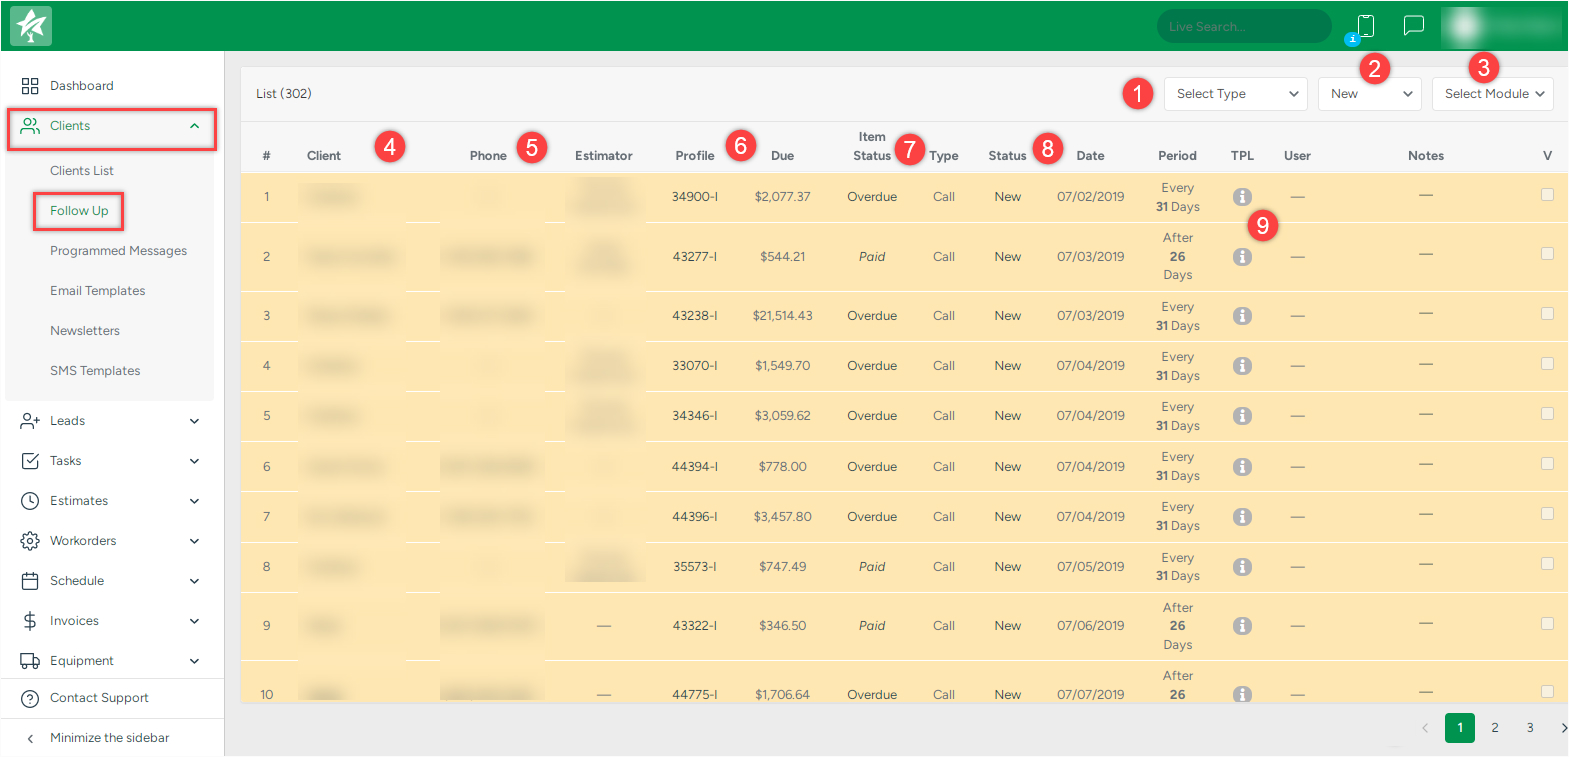
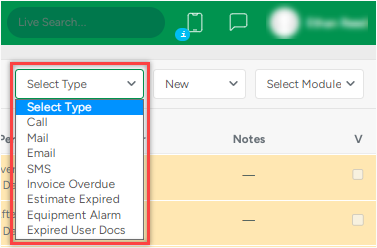
1. Clicking this dropdown allows you to filter all entries depending on the type:
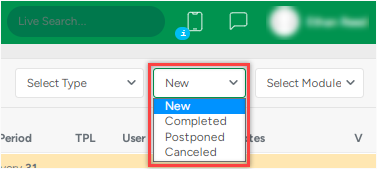
2. Clicking this dropdown allows you to filter all entries depending on the entry status:
3. Clicking on this dropdown allows you to filter all entries depending on the module:
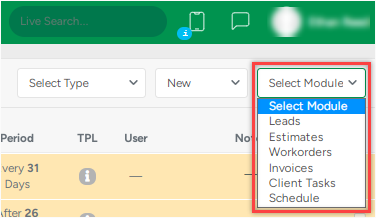
4. Clicking any client’s name redirects you to the client’s profile;
5. Clicking any phone number, if the VoIP is set, starts an outgoing call to this number;
6. Clicking any estimate number redirects you to this estimate’s profile;
7. The Item Status shows the current status of the invoice mentioned. Clicking the status allows you to change the invoice's status.
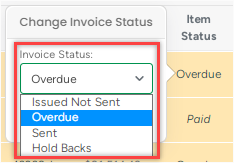
New follow-ups can be created in the Programmed Messages module.
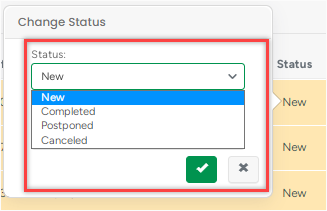
8. The Status shows the follow-up entry status. Clicking the status allows you to change it in the modal window that appears and add a note if needed.
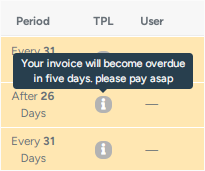
9. TPL. It stands for template and shows the text added during the programmed message creation process in the input field under Template.
In the list, the text messages are displayed with the i icon and when hovering the mouse cursor over it, the text shows up in the hint.
