
The Leads List contains all actual leads, their names, contact information, and statuses.
- To access the submodule, navigate to Leads → Leads List.
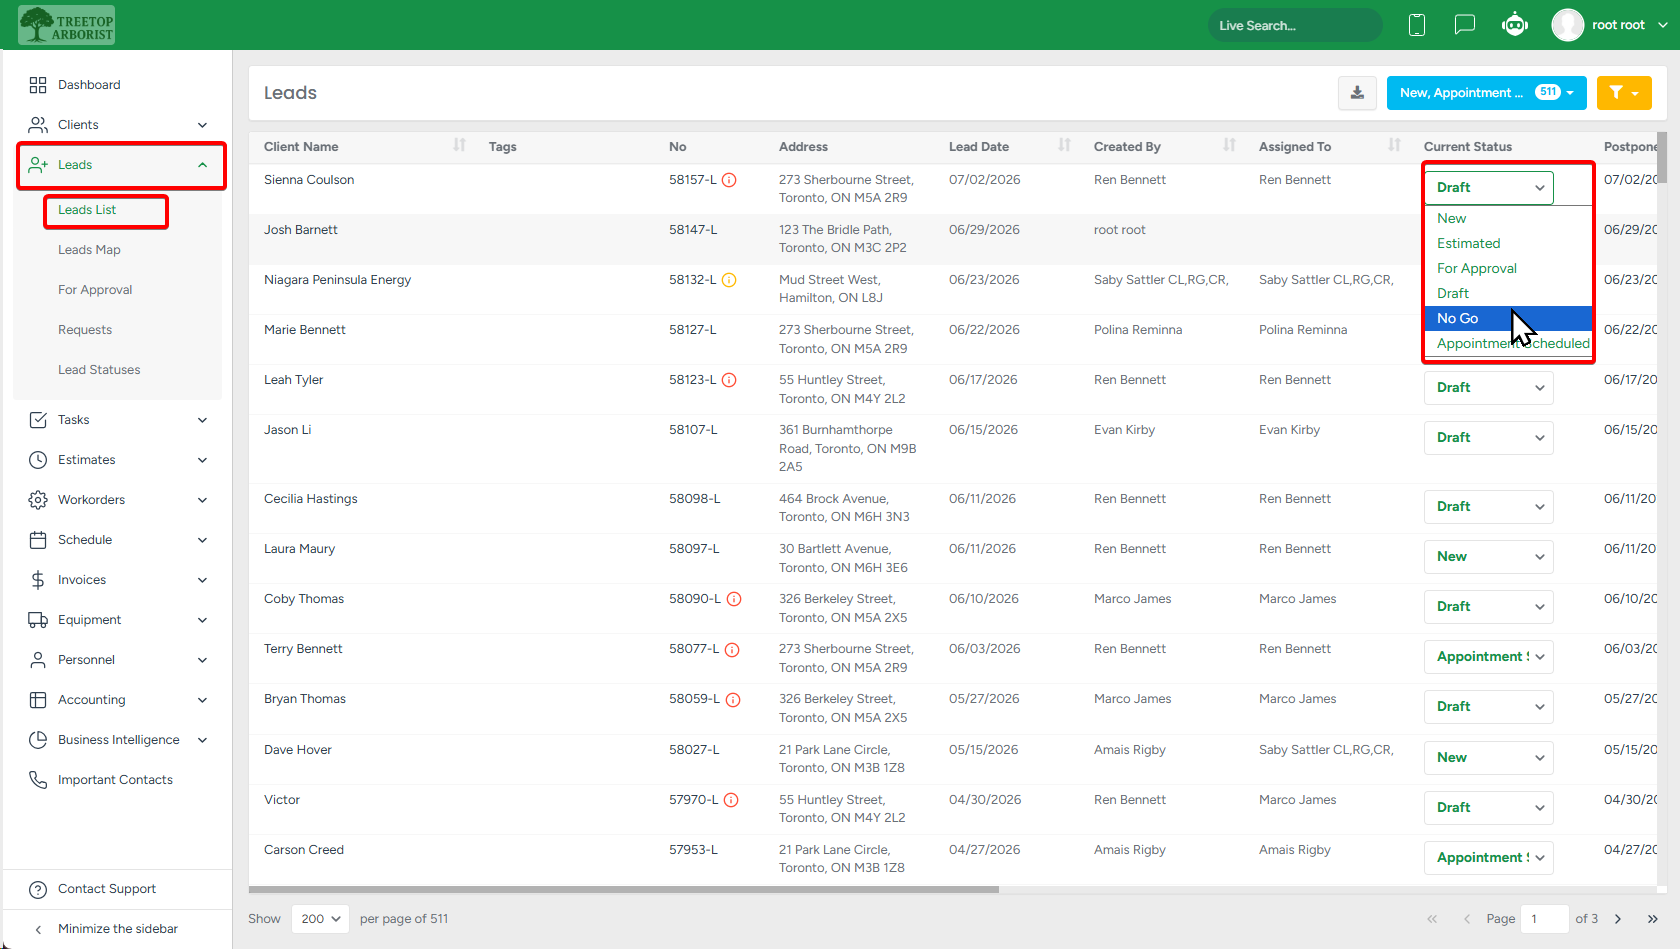
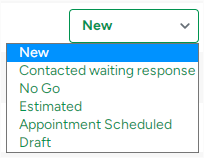
Set the required status for the lead in the Current Status column. When you click an existing status, the drop-down menu appears with a list of available statuses.
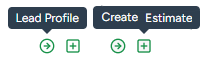
The Action column contains two active buttons represented by Eye and Leaf:
- The Eye icon allows access to the lead's profile. A pop-up window opens containing the lead’s details, where you can edit the lead information or schedule an appointment.
- The Leaf icon lets you create an estimate for the lead. By clicking it, you will be redirected to the Create an Estimate page, where you can start the estimation.
Leads Priority
The ‘No’ column displays the Lead number along with its priority tag.
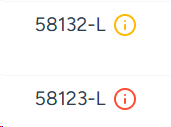
Available values:
- No color - Regular
- Yellow color - Priority
- Red color - Emergency
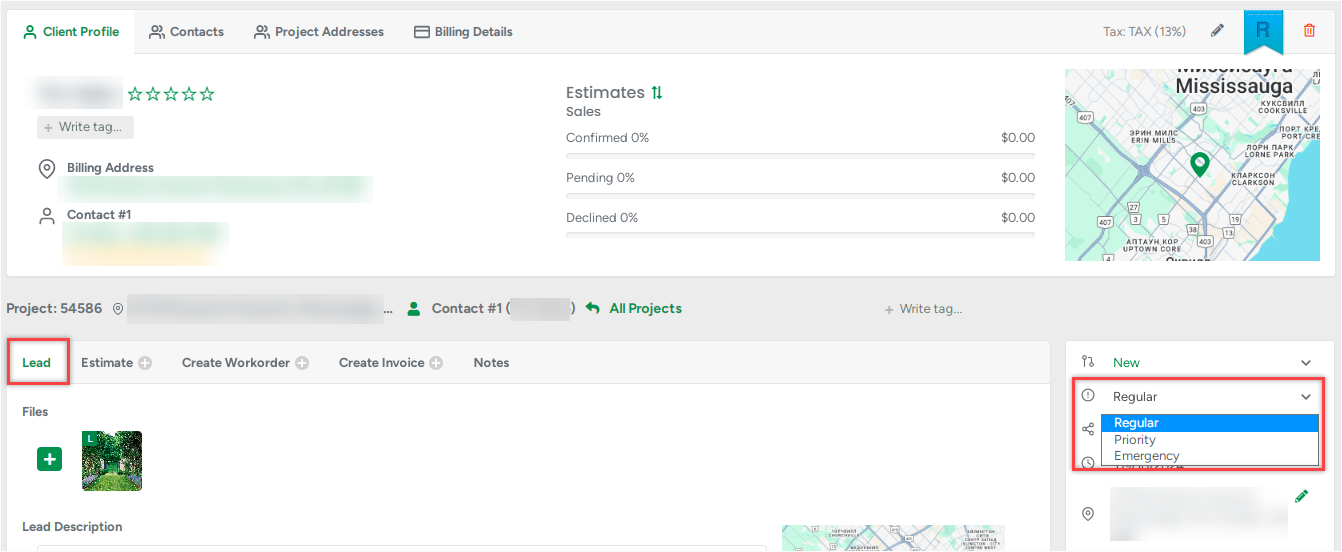
To change the current priority, go to the profile of this Lead and set the required priority in the drop-down list on the right side of the screen.
Current Status
In the Current Status column, there is a drop-down list for selecting the required Lead status.
The only exception from this list is the Estimated status.
Clicking on it will redirect you to the estimate creation page, instead of changing the status.
That is because the estimated lead is required to have an estimate.
After that, its status cannot be changed, and the dropdown menu becomes unavailable: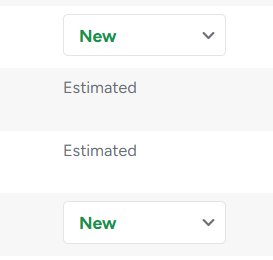
Leads Status sorting
The blue button in the upper right corner of the screen is used to sort leads by status. Please select all of them at once by clicking All, or choose a specific status.
The Leads Status section provides an overview of the number of leads with a certain status. The statuses can be changed later, including on the Leads Map.

It's possible to download CSV copy of the page, that will include all information from the Lead List, including current statuses.
Clicking on the Location icon in the top right corner will redirect you to the Leads Map. Check this article for more info.