
Manage lead approvals
Once the user confirms the request, they create a lead for the new client or merge it with an existing one, assigning the For Approval status. This review process helps to avoid the creation of duplicate clients.
- To access this submodule, navigate to Leads → For Approval.
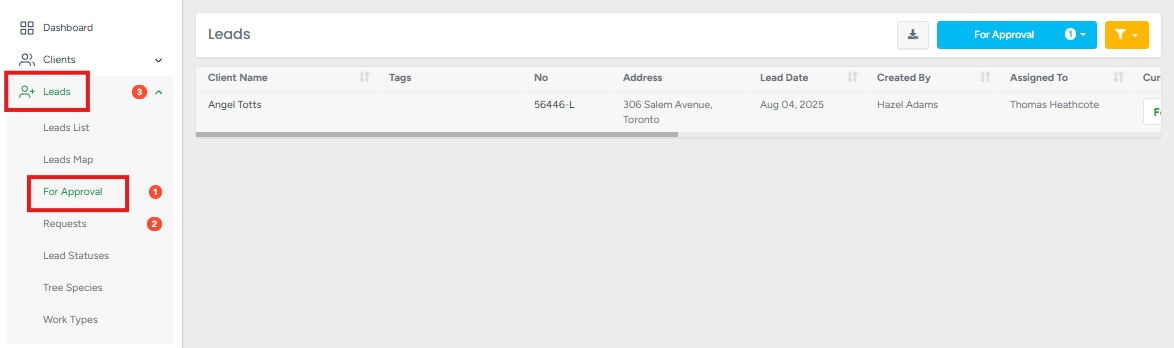
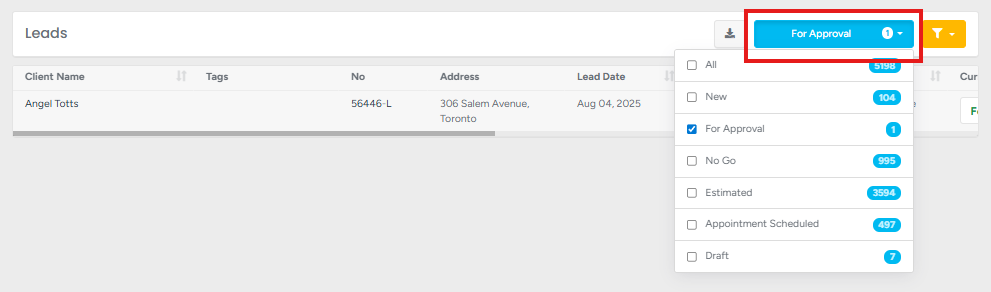
Clicking the blue filter button allows you to filter the data on the page by status. The filter automatically selects the For Approval status by default. The badge count is next to each status and next to the For Approval submodule name. It shows the actual number of leads with a specific status out of all leads in the system.
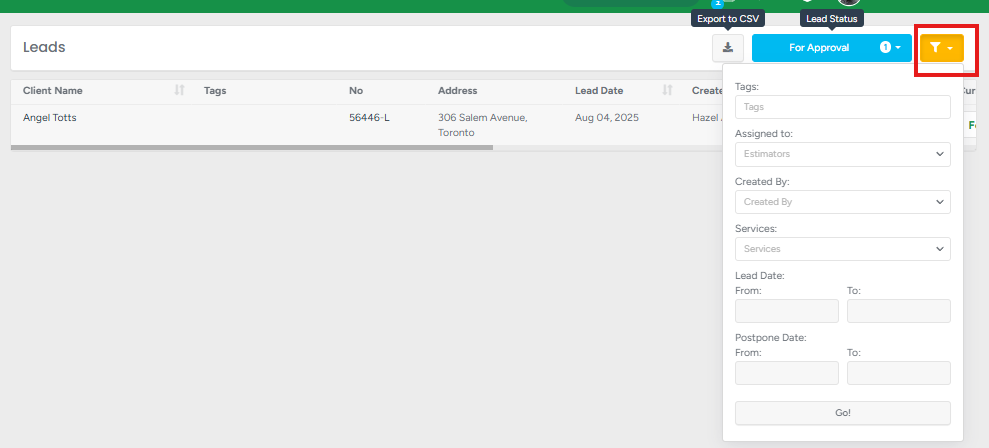
Clicking the yellow filter button allows you to filter the data on the page based on the following:
Tags added to the project;
Assigned estimators;
Services mentioned within the lead;
Lead date;
Lead postpone date.
Clicking the client’s name redirects you to the client’s profile.
- Clicking the sort icon next to:
Client Name sorts the data on the page from A → Z. If clicked twice, from Z → A;
Lead Date sorts the data on the page from the oldest to the newest date. Clicking twice will sort the dates from the newest to the oldest.
Created By, sorts the data on the page from A → Z. If clicked twice, from Z → A;
Assigned To, sorts the data on the page as follows: first empty entries in this column and then from A → Z. If clicked twice, from Z → A and then empty entries;
Postpone, sorts the data as follows: first empty entries in this column and then from the oldest to the newest date. Clicking twice, from the newest to the oldest, and then empty entries;
Clicking the lead redirects you to the lead profile;
Clicking the dropdown changes the current lead status to the selected one from the dropdown;
Clicking the eye button redirects to the lead profile;
Clicking the leaf button creates an estimate within the project.
Lead Source
Anywhere you see Lead Source in the system, it is shown in this format: Lead Source (Lead Source Details)
If extra details were added, they appear in brackets next to the Lead Source name. If no details were added, only the Lead Source name is shown.
In the Leads — Requests section, you will see:
Lead Source
Lead Source Details
The display format is applied to all types of Lead Sources. Here are a few examples:
- Client (Jace Wayland)
- Employee (John Smith)
Google Search (Facebook ad)
Google Search
Not Selected → the Lead Source field is not shown

Marketing Attribution Details
Leads for Approval can also display marketing attribution information when available, including:
| This information helps businesses identify:
| Marketing attribution details can help improve:
| These details may also carry over into:
|
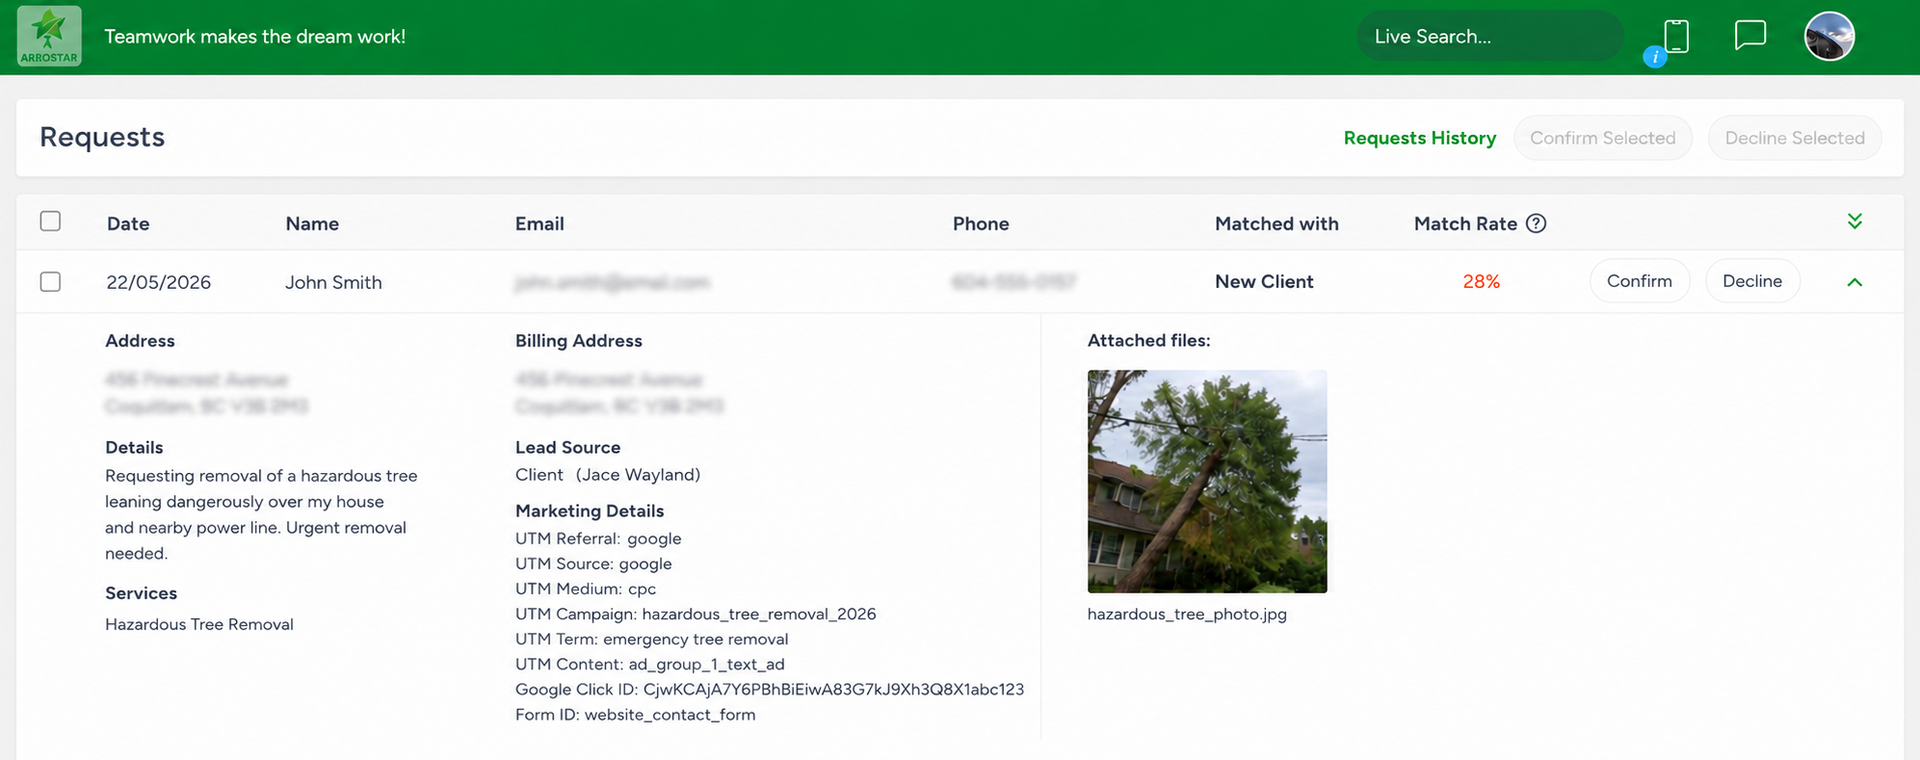
Click here to learn more about Google Click ID and Form ID tracking.
When you export Leads List or For Approval to CSV, the file will include:
Lead Source
Lead Source Details
If a Lead Source allows additional details, the entered value will appear in the Lead Source Details column.

This works the same way for:
Client referrals
Employee referrals
Custom Lead Sources with added details
This ensures your exported data matches what you see inside the system.