Access the Add Client functionality
You can access the Create Client pop-up on the Web in two ways:
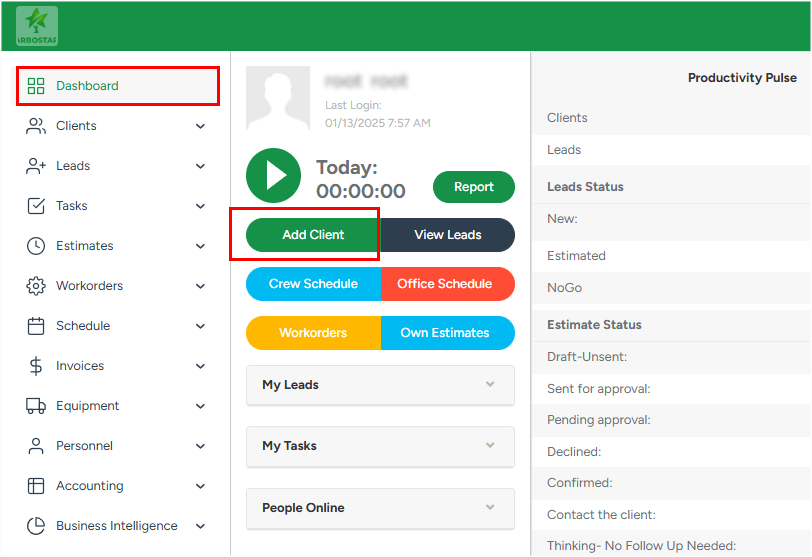
1. On Dashboard:
Click the Add Client button.
2. On Clients List:
Navigate to the Clients → Clients List and click the 'Add Client' icon in the top right corner.

Creating New Client
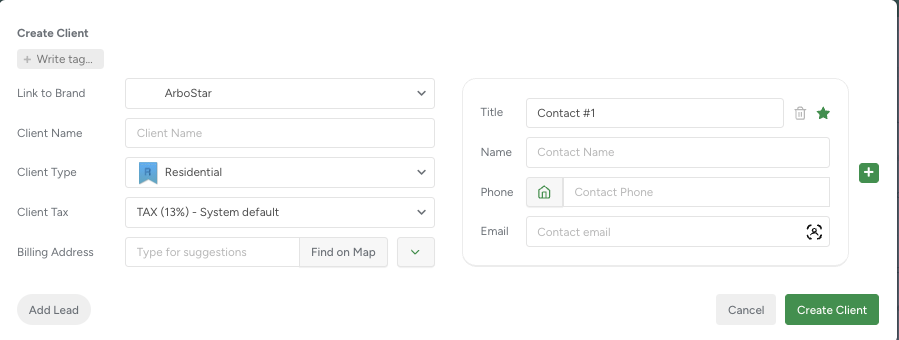
In the pop-up window, you can fill out the form indicating all necessary information about the Client.
This window closes only when the Cancel button is pressed. Clicking outside the dialog does not close it or apply any changes.
Client information
On the Create Client pop-up, on the left side, the following information can be added:
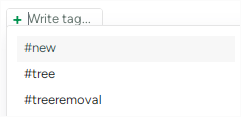
Write a tag:
By clicking it, you can create a new tag or choose (auto-complete option) an already existing one.

Tags are used to filter Clients in the Clients List and throughout the platform. When you search by Tag by simply clicking on it in the list, the system will display all Clients associated with that Tag.
For existing Clients, you can add a new tag to the Client's profile by entering it in the Tag field. To remove an existing Tag, simply click the 'Remove' icon.
Link to Brand:
This field displays the list of existing Brands and allows selection of the proper Brand by clicking on it.

Client Name:
Here you can enter the First and the Last Name of the Client.

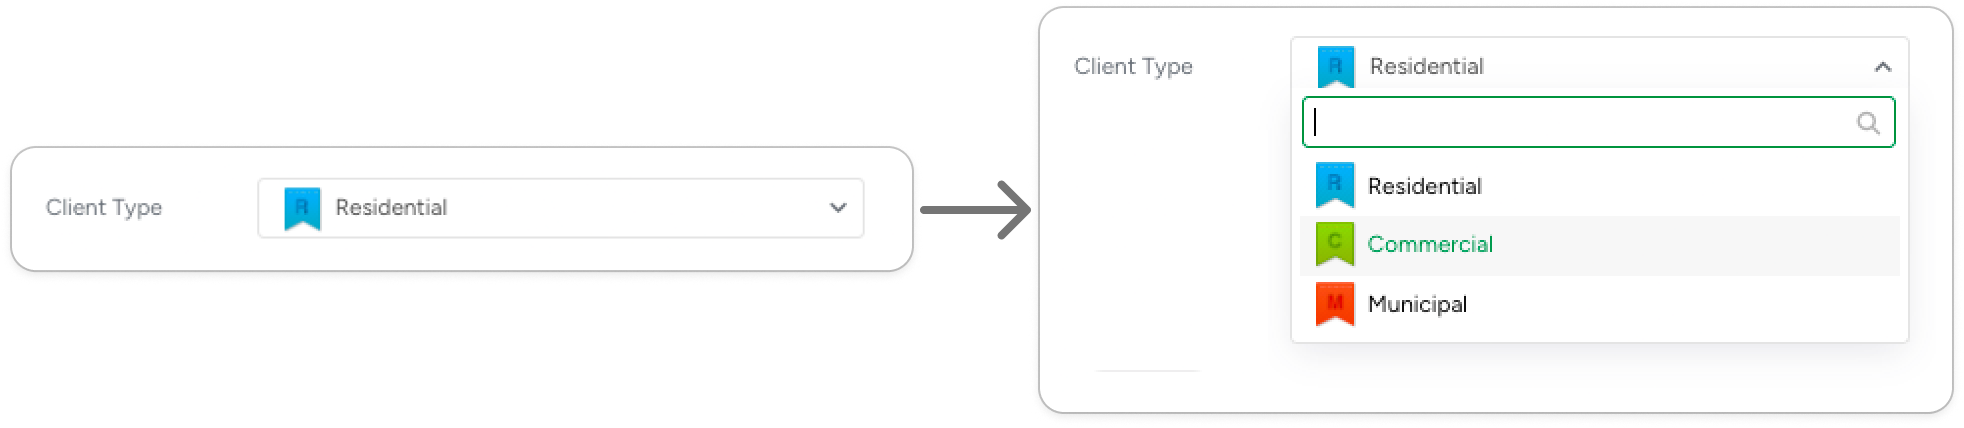
Client Type:
Select the one Client Type among the following options (each type has its own icon to differentiate visually in the list):
- Residential: individual homeowners or private property owners seeking services for their personal property.
- Commercial: businesses, companies, or property managers requiring services for commercial or multi-unit properties.
- Municipal: government entities or public institutions requesting services for city-owned or community properties.
Client Tax:
Select the taxation system that will be applied to this Client.

The Auto Tax feature automatically applies the correct tax rate based on the address and can be enabled for U.S. companies via Company Management. The selected Client Tax will be selected for each new Lead as default. However, for each individual case, the system allows selecting a different tax system if needed.
Billing address (Find on Map):
When typing the address in the Billing Address section, the system will automatically suggest address options.

By clicking the Find on Map button, the Google Maps pop-up appears that allows set the location more precisely:
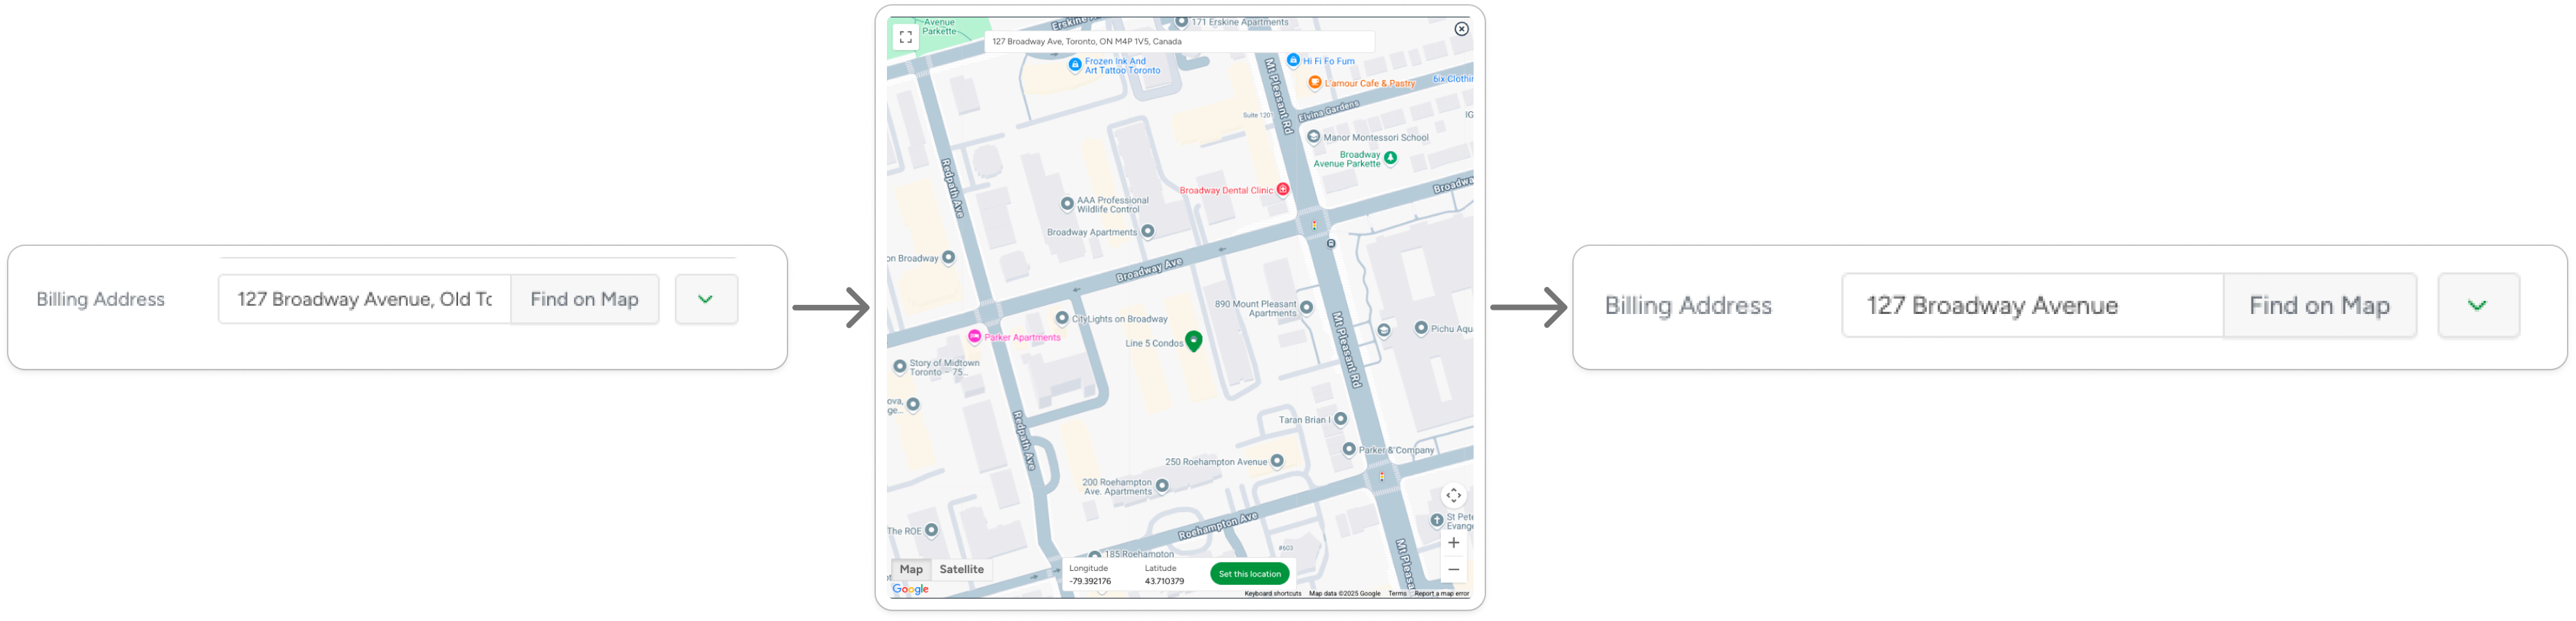
By clicking the 'Expand' button, the Address Details text field appears. We recommend using this field to fill out the Purchase Order number.

Contact information
In the Contact section, fill in:
- Title: a descriptive label or reference for the Client (e.g., "Main Contact," "Landlord," or company name).
- Name: the full name of the contact person or organization representative.
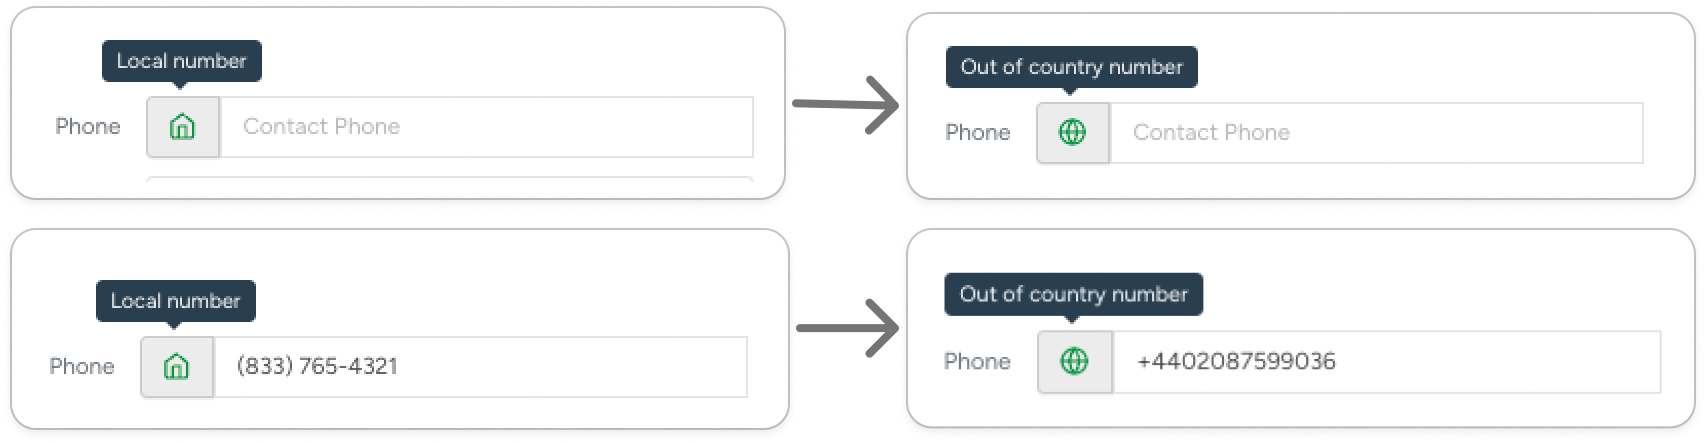
- Phone: a valid phone number where the Client can be reached for communication or scheduling.
By default, the Local number is selected. Click the icon to switch to the Out of Country number if needed, and click it again to revert to the Local number.
- Email: the Client's active email address for sending estimates, invoices, and updates.
The information added to the Client Name is transferred in the Contact #1 Name automatically. You can edit the Contact #1 Name afterwards without losing the original Client Name.
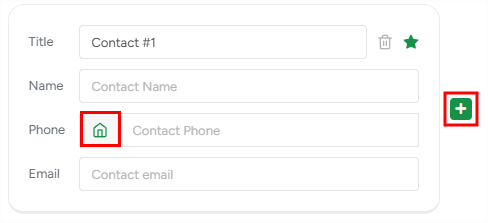
Adding & Deleting Additional Contacts:
If you would like to add more contact information, click on the + icon, and a new contact tab will be added. To switch them, move the slider.

The Remove button allows you to delete a contact tab.
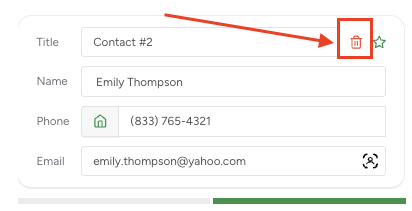
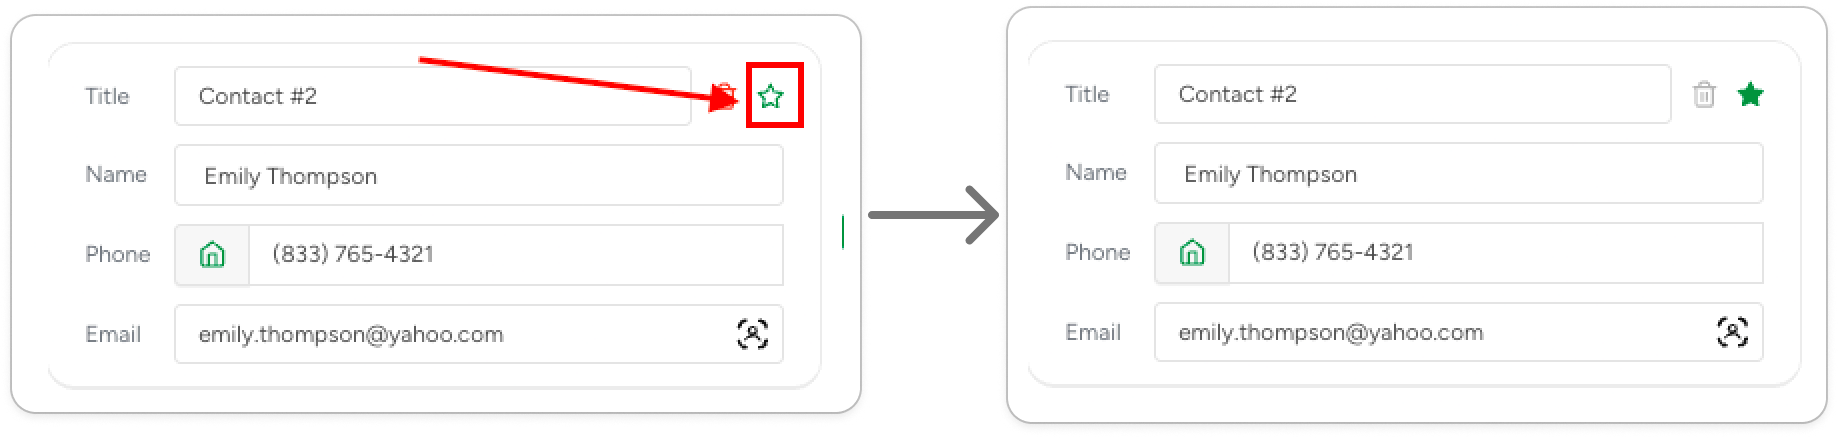
The removal is unavailable if the Contact is marked as primary (green star icon). To mark Contact as primary, click on the star icon.