Estimate Confirmation through E-signature: Emailing the Client about Confirmed Estimate
Before, when the client would e-sign the estimate via the link in the sent estimate email, only the company received a notification email about the signed estimate.
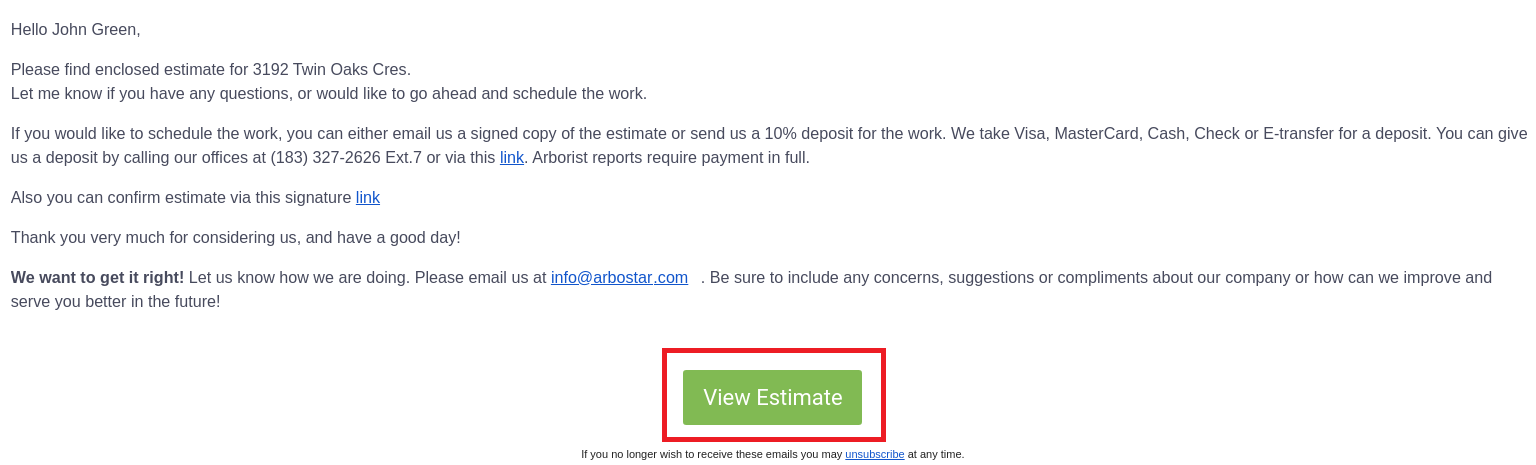
Now, when the client e-signs the estimate via the link in the sent estimate email, both the client and the company receive a “Confirmed Estimates” notification email about the estimate being signed.
Estimate email message can be edited in the “Email Templates” module.
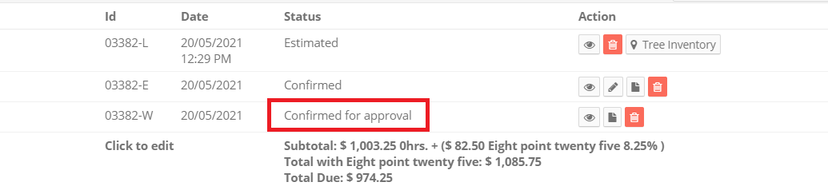
After the estimate is confirmed with e-signature, the status of the automatically created workorder will change to “Confirmed for approval”.
Added Tooltips for Events on Schedules
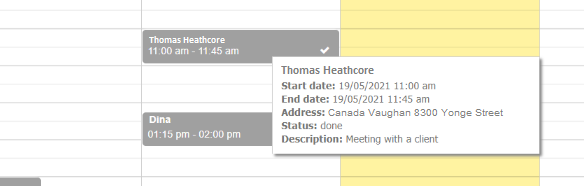
On the “Office Schedule” and “Crew Schedule” pages, if you move the cursor to the event without clicking on it, you will see the event details such as name, start and end dates, address, status and event description.
Tooltip look in the “Office Schedule” module.
Tooltip look in the “Crew Schedule” module.
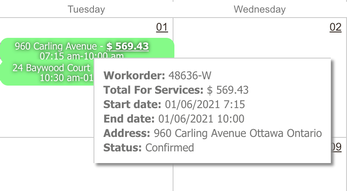 On the “Crew Schedule” page the tooltips are available only on the monthly view mode.
Assigning Task to a Lead from the “Schedule Appointment” Window
Due to the improvements in the “Schedule Appointment” window, now it is possible to assign a lead to the task when creating an appointment.
To assign a lead, please choose the lead from the drop-down menu.
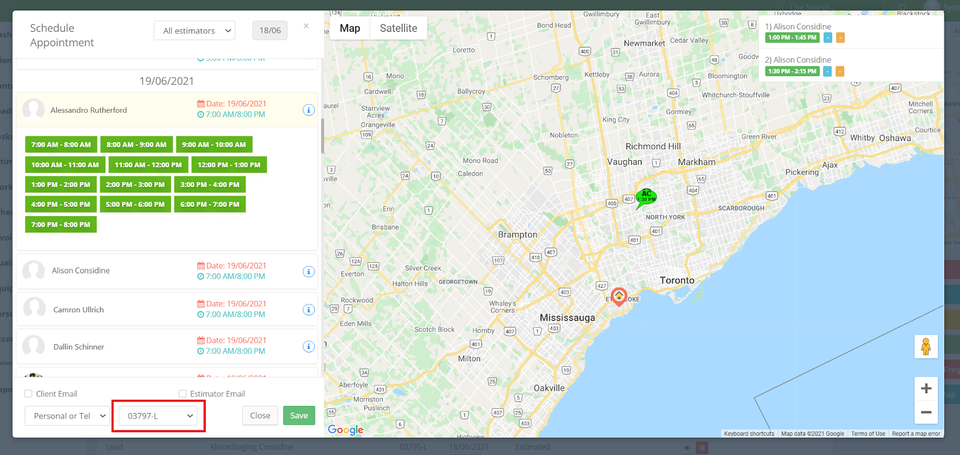
Only the leads with the status “New” can be assigned. || The function only applies when creating a task from the lead viewer page (click on the “Eye” icon next to the lead) and when creating the task from the client’s page (click on the “Create New Task”).
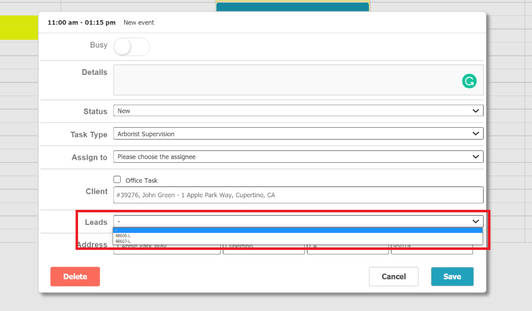
Adding a Lead to a Task on the Office Schedule Page
In the “Office Schedule” module now it is possible to assign a lead to the event. After filling out the client’s name in the “Client” field, the new leads from the client’s profile will be available in the “Lead” field.
To add a lead to the event, after filling out the client’s name, please click on the “Lead” and choose the necessary lead from the drop-down menu.
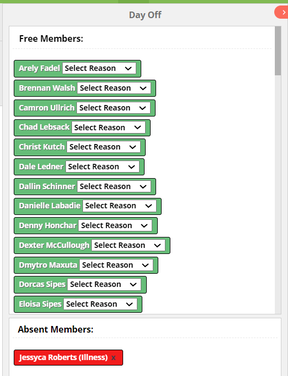
Updated Day Off Management
With the new update, when marking the “Support” users as “Absent”, they are automatically marked as “Absent” on the office schedule page for the whole day.
Only “Support” users are shown as absent on the “Office Schedule” page, “Field” users are not.
Employees can be marked as absent in the “Crew Schedule” module from the “Free Members” window that opens when clicking on the red “Arrow” sign in the top right corner.
The red arrow is visible only on a daily view.
Another way to mark an employee as absent is to navigate to the “Business intelligence” → “Personnel” → “Absent Day Stats” sub-module and click on the green “Plus” sign on the top right corner.
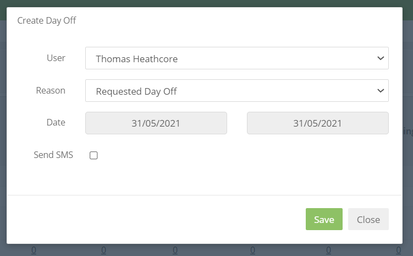
When the “Support” user is marked as “Absent” in the “Crew Schedule” or “Absent Day Stats” module, they will be marked as absent for the whole day in the “Office Schedule” module.
The “Day Off” cannot be deleted or edited from the “Office Schedule” page.
Replacing the Attached Estimate/Invoice PDF with a PDF Link in the Email
When sending an estimate and invoice PDF to the client, if the file is more than 10 MB, instead of an attached file, the file will be available via a link.
The estimate and invoice email messages can be edited in the “Email Templates” module.
Improved Algorithm for Checking the New Client's Information on the “Add Client” Page
Due to the improved algorithm, on the “Add Client” page when adding a client’s name, address, phone number or email, it automatically checks if there are any other clients with the same credentials and provides the list of clients with similar credentials in the top right corner.

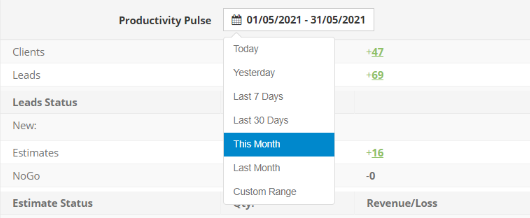
Date Range on the Productivity Pulse
On the dashboard now it is possible to choose a date range on the calendar instead of an exact date. To choose a date range, please click on the calendar and choose the preferred date slot.
Adding Estimate and Invoice Number to Emails
Now it is possible to add the Estimate/Invoice number to the email templates. To add the estimate/invoice number to the email template, please navigate to the “Email Templates” sub-module, click on the “Pencil” icon and add [ESTIMATE_NUMBER] or [INVOICE_NUMBER] in the “Template Subject” field to make it available in the email subject or add in the body to make it available in the email body.
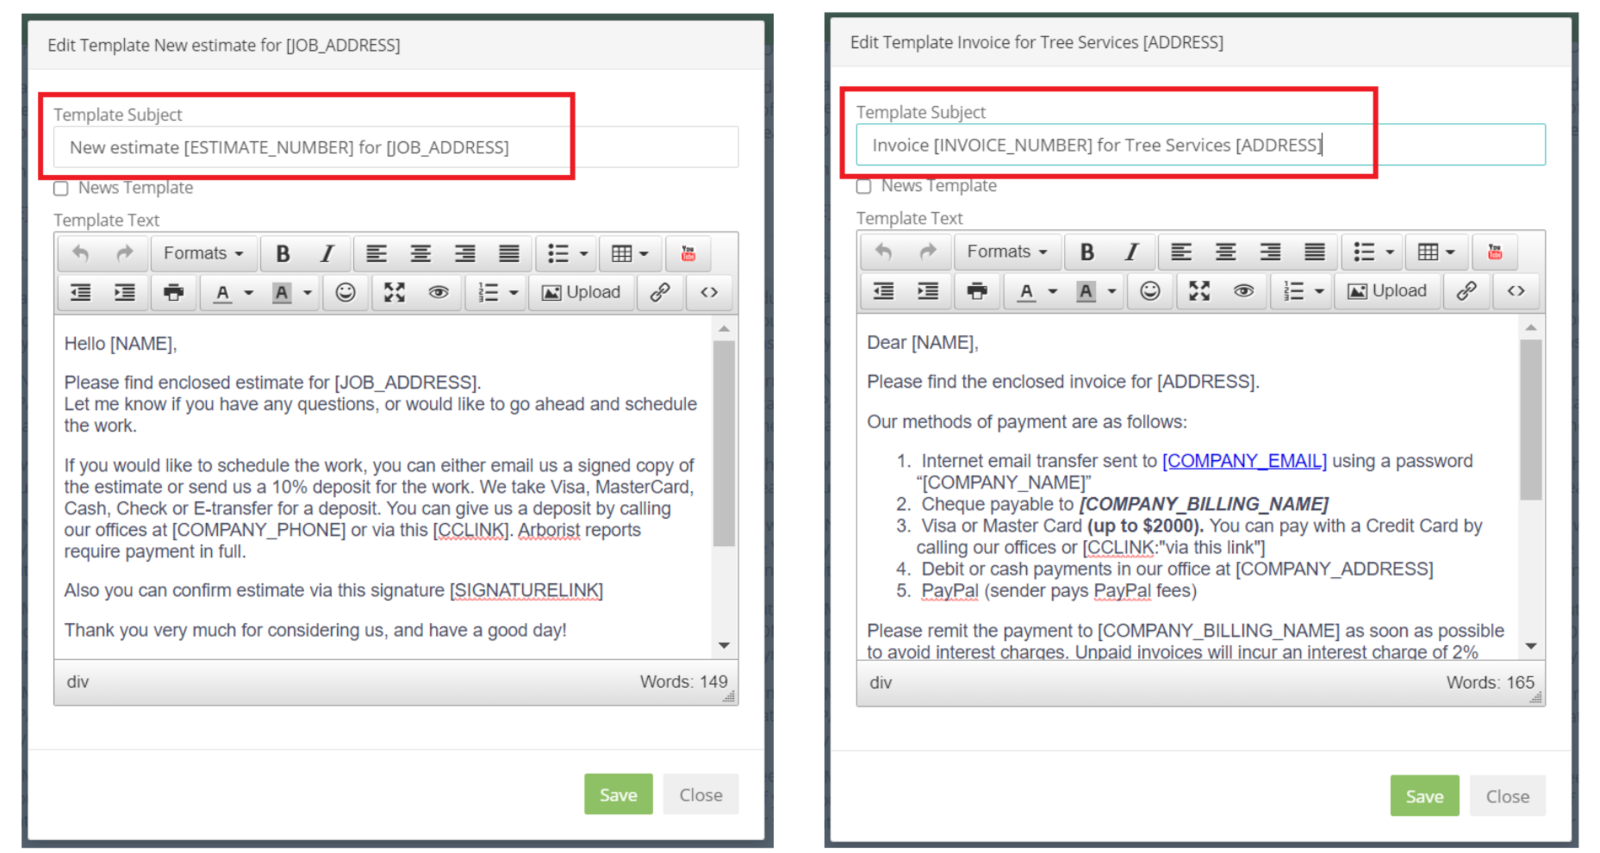
After adding, when sending the estimate/invoice to the client, the estimate/invoice Number will automatically be added to the subject or body of the email.
Client Reference List
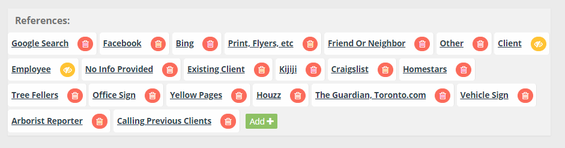
Now it is possible to moderate the client reference list as well as add references based on your company needs.
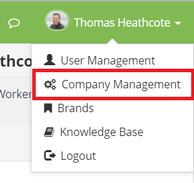
To access the reference list, please navigate to the “Company Management” module from the top right corner.
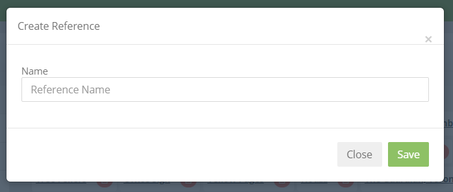
To add a new reference option, please click on the green “Add” sign, fill out the name and click “Save”.
To delete, please click on the “Bin” icon.
“Client” and “Employee” references cannot be deleted, only disabled.
Custom range Report in Payroll Calculations
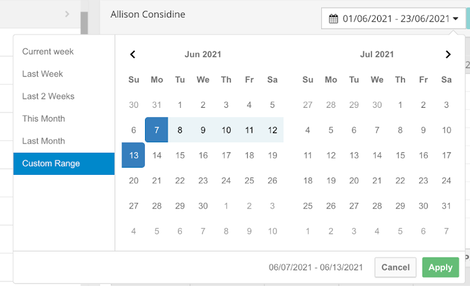
In the “Payroll Calculations” sub-module now it is possible to choose a custom date range on the calendar.
To choose the custom date range, please click on the calendar, choose the “Custom Range” option, choose the preferred date slot from the calendar and click “Apply”.
Changes in the Payroll Calculations Module
Now it is possible to view whether the employee has been tracking the time from the web or the app in the “Payroll Calculations” sub-module.
A “Computer” icon next to the time slot means the employee has been tracking the time from the web and their location cannot be tracked.
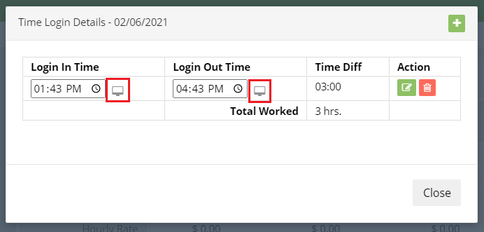
A “Phone” icon next to the time slot means the employee has been tracking the time from the app and if you click on the icon the location can be tracked.
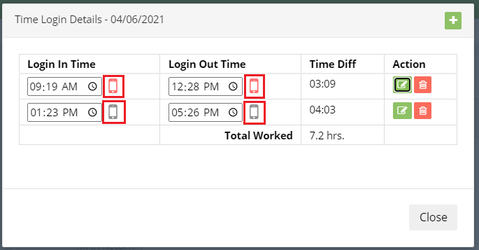
Grey “Phone” icon means the tracking occurred within a radius of 500 m from the office, while a red “Phone” icon means out of radius tracking.
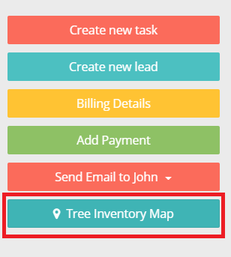
Updated Tree Inventory on the Web
With the changes in the tree inventory feature, it is possible to create estimates, Workorders and invoices from the tree inventory page.
The feature is available only from the right side menu on the client’s page.
After navigating to the “Tree Inventory Map”, to create a new tree inventory please click on the “Create a New Tree Inventory”, fill out the name and click “Save”.
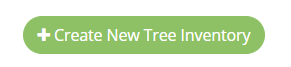
The address is automatically filled out, but can be edited.
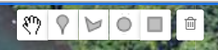
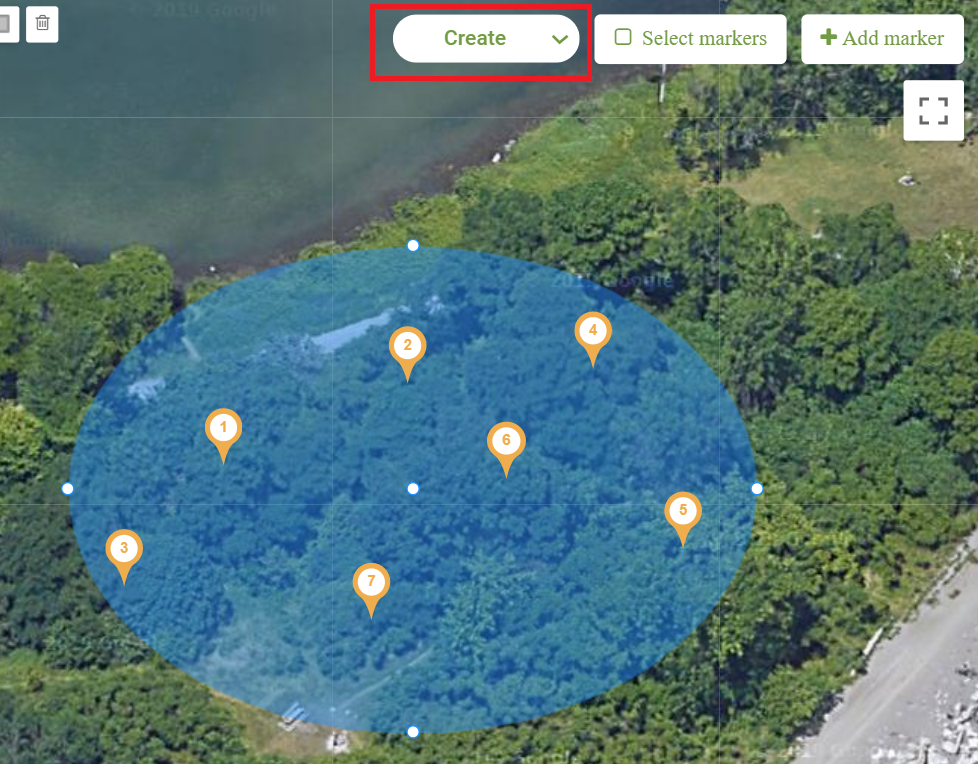
After the preferred tree inventory is selected from the side-bar menu, you can double click on the map or press the “Add Marker” button to add a marker on the map.
After markers are added on the map, you can select the markers that you would like to create an estimate, workorder or invoice for. To select, please click on the “Select Markers'' icon.

You can choose the most comfortable way of outlining the markers from the offered options.
After the preferred markers are outlined, click on the “Create” button and choose the necessary option to create a new estimate, workorder or invoice.
After the estimate, workorder or invoice is created, a new lead/ estimate/ workorder will be accordingly automatically created on the client profile.
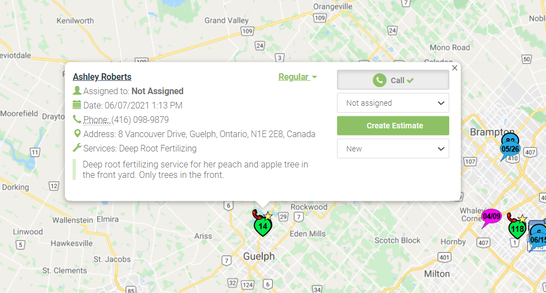
Updated Leads Map
Due to improvements in the “Leads Map” module, the speed of loading and operations has been optimized and all actions with pins now occur without page reloading.
The lead window on the map has also undergone visual improvements.
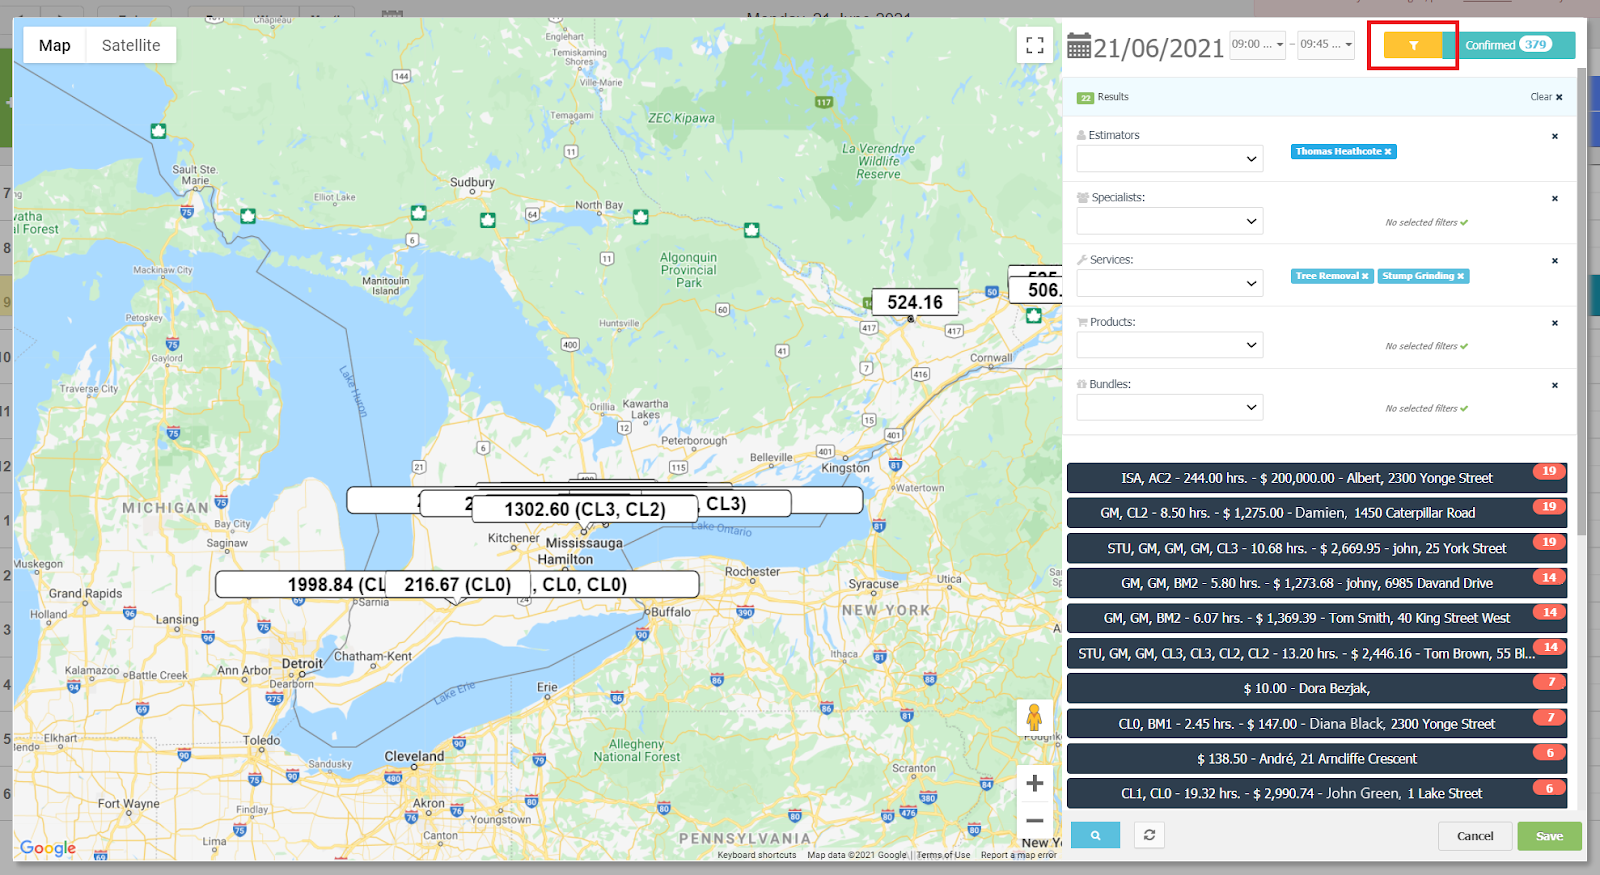
“Crew Schedule” Module Updates
In the “Crew Schedule” module, the window for creating/editing tasks has been redesigned. With loading and operations speed optimized, when opening the window, the updated list of workorders loads.
On the right side of the window, a filter is added enabling to filter the list by “Estimators”, “Specialists”, “Services”, “Products” and/or “Bundles”.
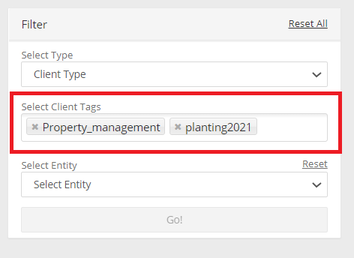
Added “Tag” Filter in the “Sales” Module
In the “Business Intelligence” → “Sales” module now it is possible to filter the clients based on tags.