
Brands offer an opportunity to add and use another label, company information, and logo when communicating with a client.
With this feature, you can create clients and estimates under a brand different from the main brand and send your clients estimates and invoice emails with PDFs containing your preferred brand.
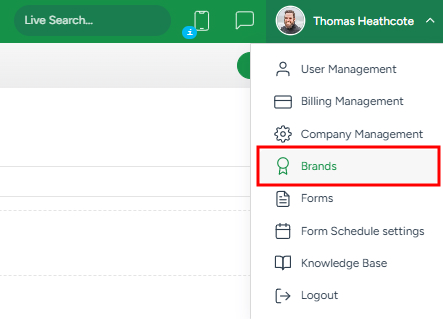
- To access the Brands module, click the user name in the top right corner and choose the Brands option from the drop-down menu. In this section, you can edit existing brands and create new ones.
Creating a New Brand
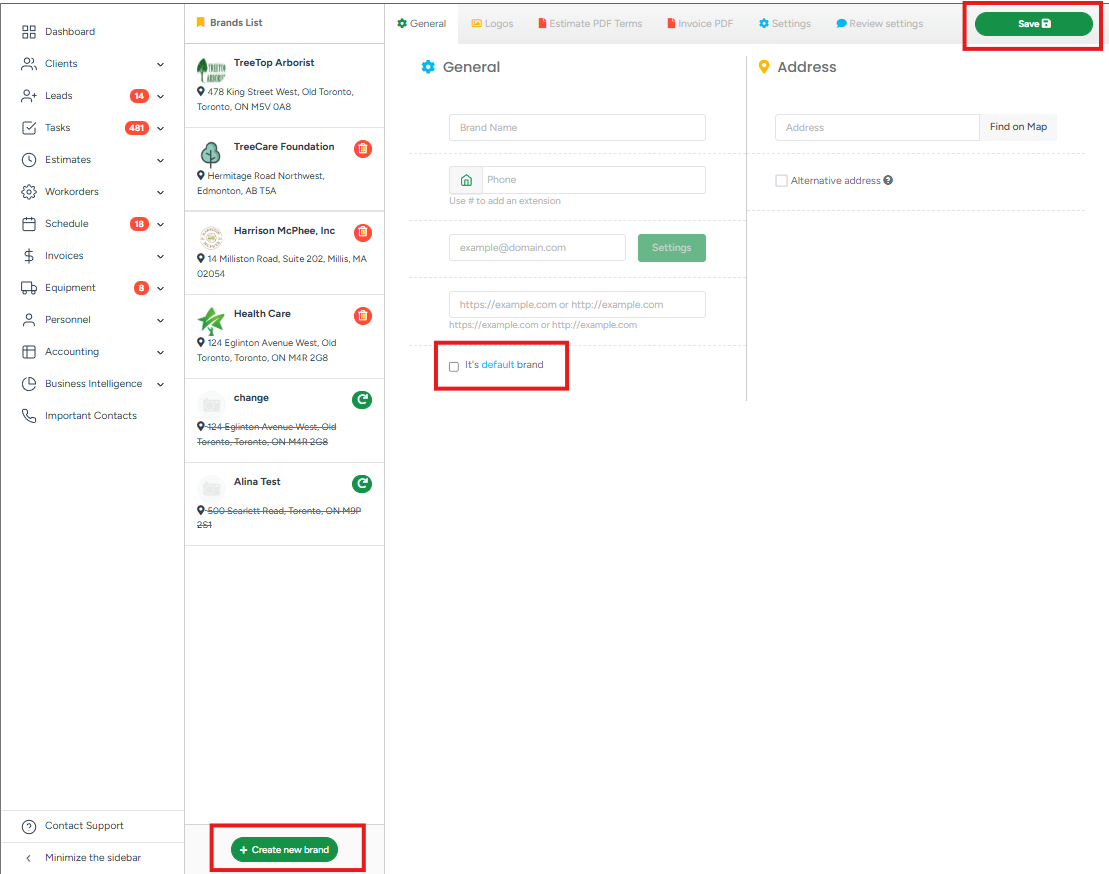
- To create a new brand, click the Create New Brand at the bottom left side of the screen.
In the General section, please provide the brand's name, phone number, and email address. In the Address section, fill out the brand's address details.
If you want to use the selected brand as the default, mark the It's Default Brand box.
After the General and Address sections are filled out, click Save in the top right corner to save the brand.
Now that the brand is saved, you can start adding brand details, such as the logo, PDF terms, and settings.
Editing a Brand
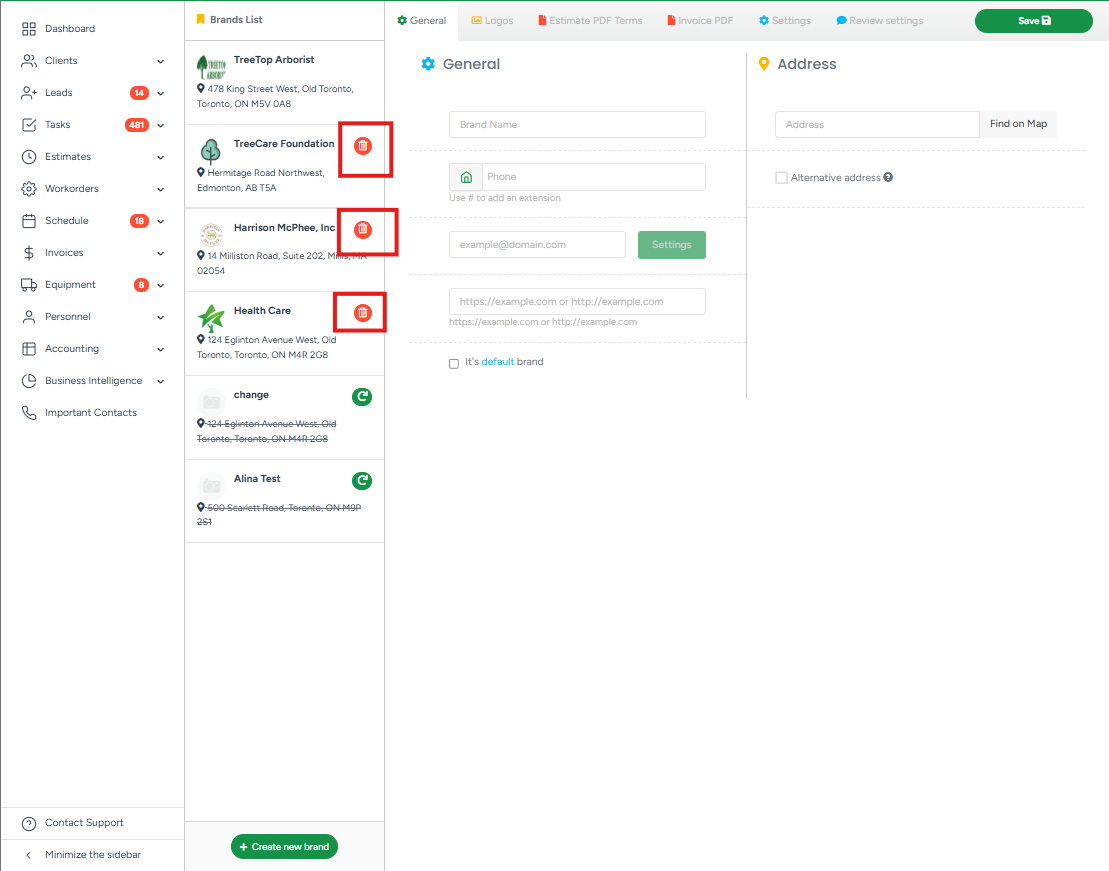
In the Brands List, you can find the list of all existing brands.
- To delete a brand, click the Bin icon next to the preferred brand.
Note that you cannot delete the brand while it's marked as the default.
If you click on the brand, you can edit or add the brand’s logo, estimate, and invoice PDF terms, review settings as well as edit general information.
Alternative address
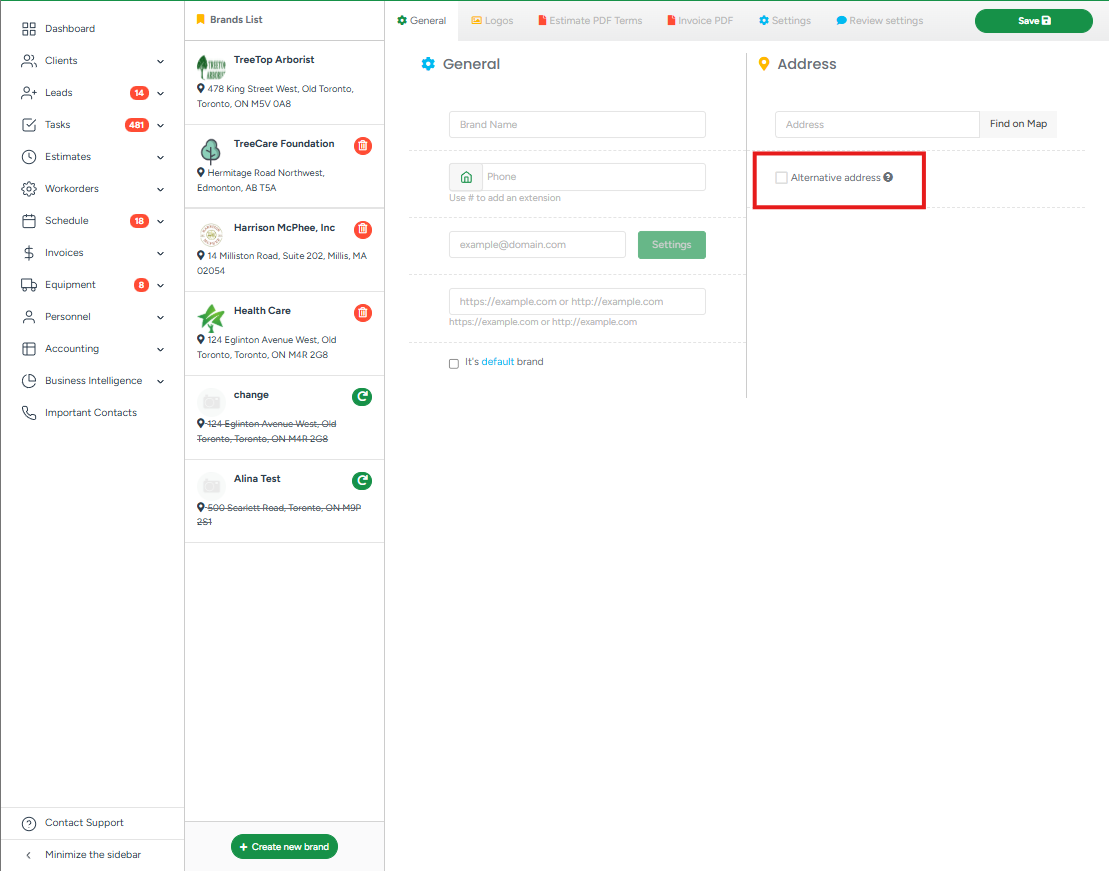 If you need to hide your primary address and show an alternative or a P.O. box instead, add a check mark next to the Alternative address. The alternative address will be shown on the Portal and PDFs.
Logos
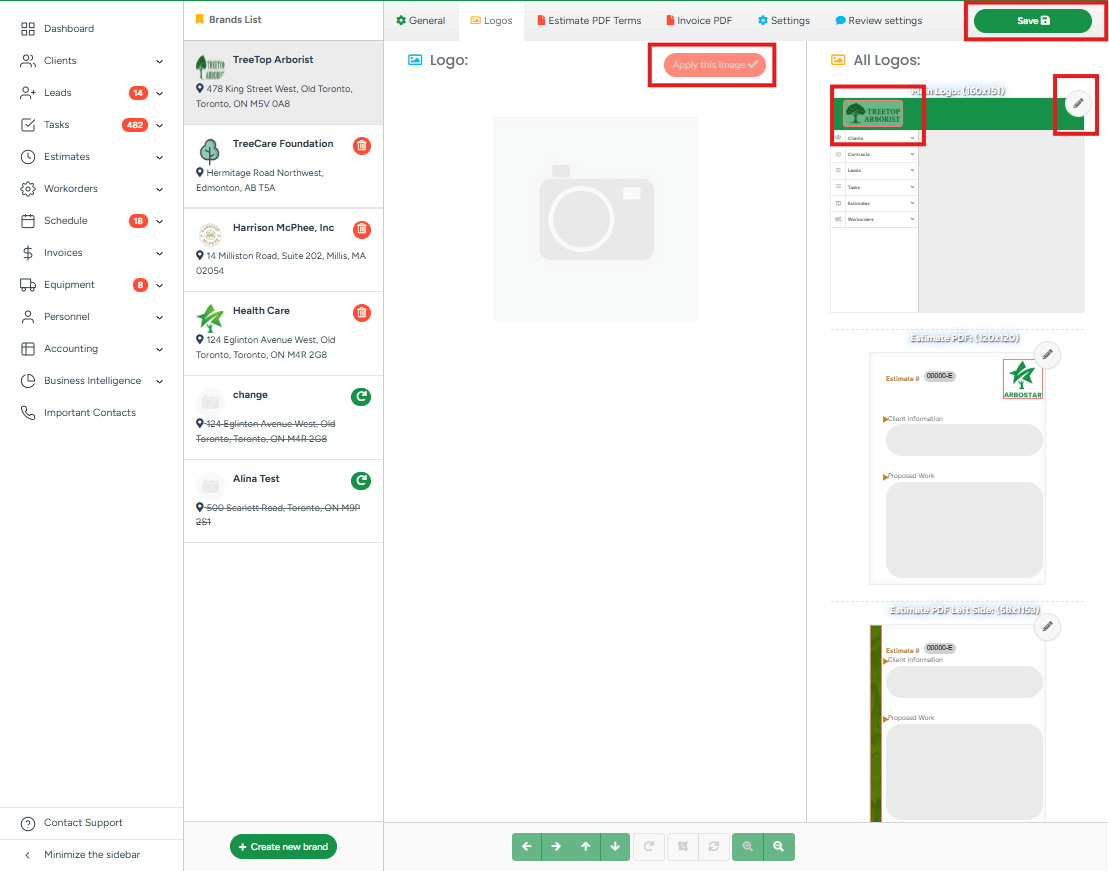
In the Logos section, you can view or change the logos for the chosen brand.
Note that you need to set up the logos for different pages. This includes the main logo, the logo to be used on the estimate PDF, the invoice PDF, the watermark, etc.
If you want to change any of the logos for the brand, click on the Pencil button at the top, add the logo from your device, crop/rotate accordingly, and click the Apply this image button.
Estimate PDF Terms
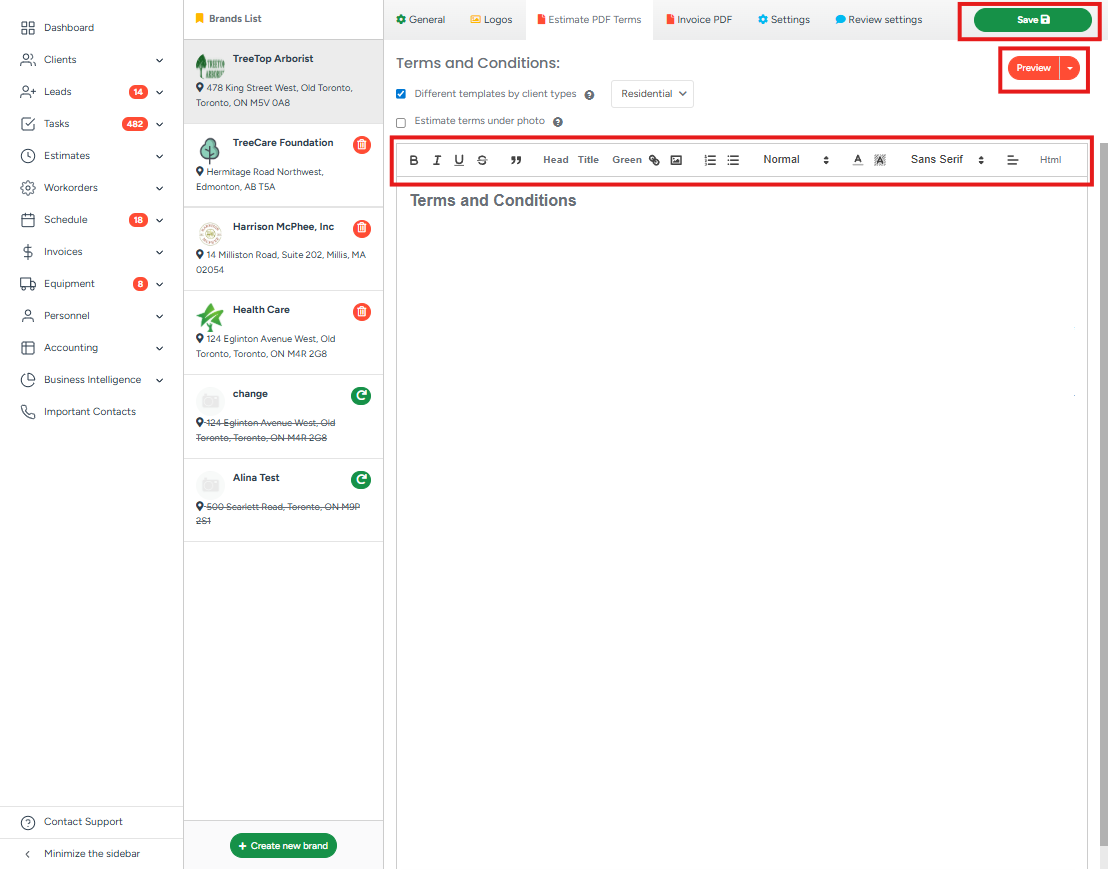
In the Estimate PDF Terms section, you can view and edit the estimate terms and conditions for the brand.
- You can customize the Terms & Conditions text and make it unique based on the client type, by adding a checkmark next to Different templates by client types and specifying the client's type from the dropdown list
- You can also use the options above the text field to make the terms and conditions file look according to the brand's needs.
- To see how the PDF looks, click the Preview button in the top right corner, where you can also download or print the file.
Invoice PDF
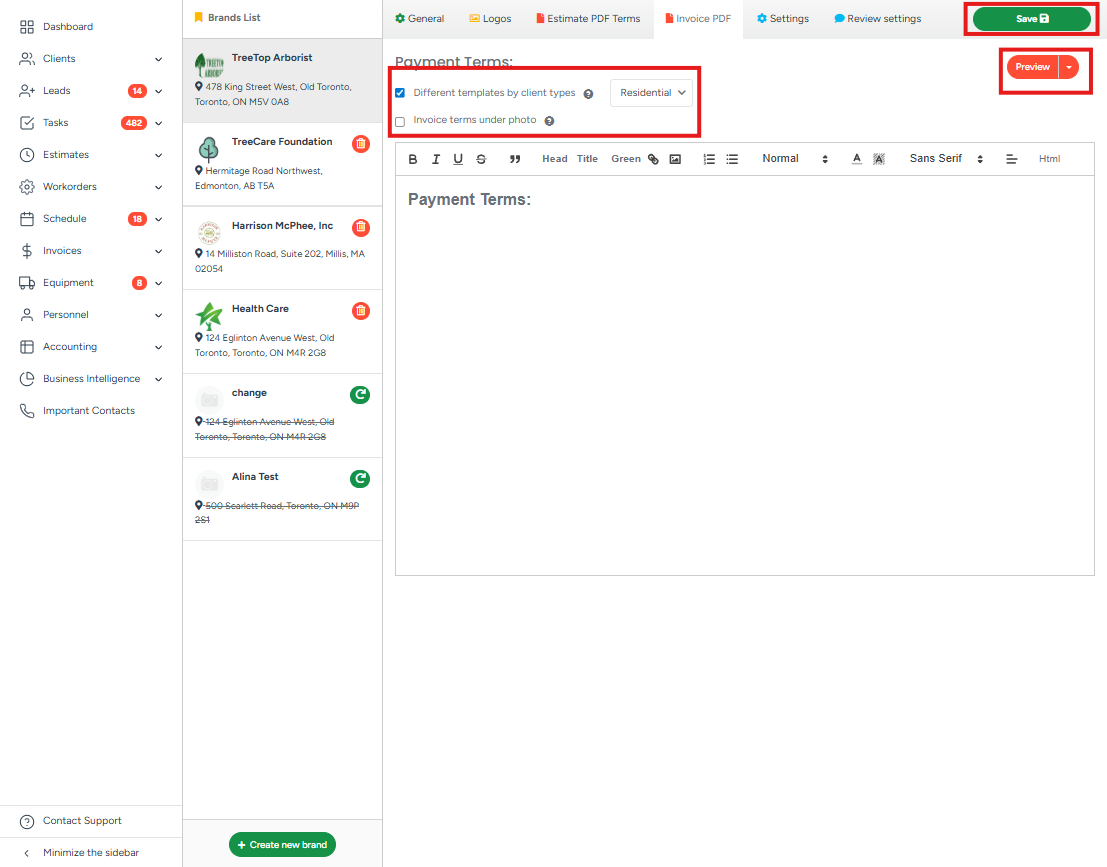
The Invoice PDF section is similar to the previous one. Here you can:
- Customize the Terms & Conditions text and make it unique based on the client type by adding a checkmark next to the Different templates by client types and specifying the client's type from the dropdown list.
- Use the options above the text field to make the terms and conditions file look according to the brand's needs.
- Click the Preview button to view the PDF example.
Settings
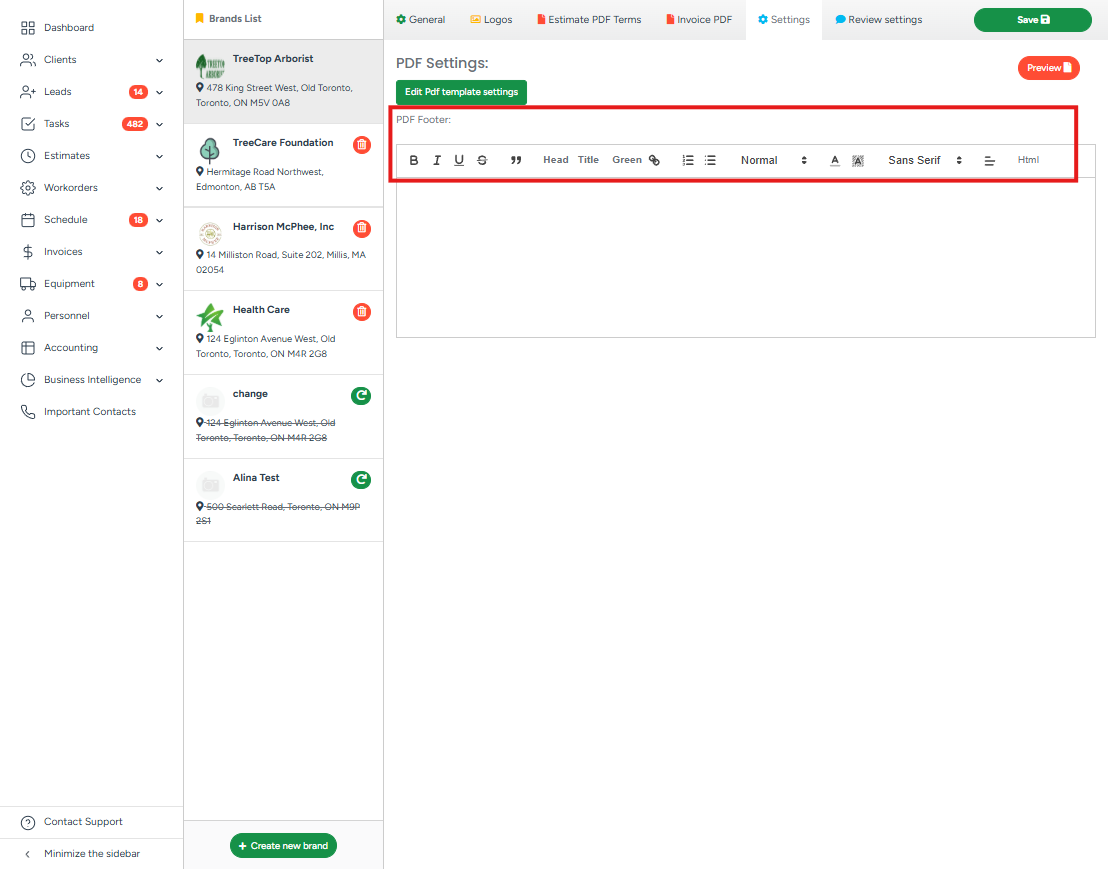
In the Settings section, you can add the PDF footer to be used for all the PDF files. Within this section, you can:
- Use the options above the text field to make the terms and conditions file look according to the brand's needs.
- Click the Preview button to view the PDF example.
PDF Templates Settings
PDF Templates control the layout and design of documents generated by the system, such as Estimates and Invoices. Each template can include custom branding, colors, and formatting.
The Fallback Template is the default design the system will use when no other template criteria are met. If a job or client does not match any custom template rules, the fallback option is applied automatically.
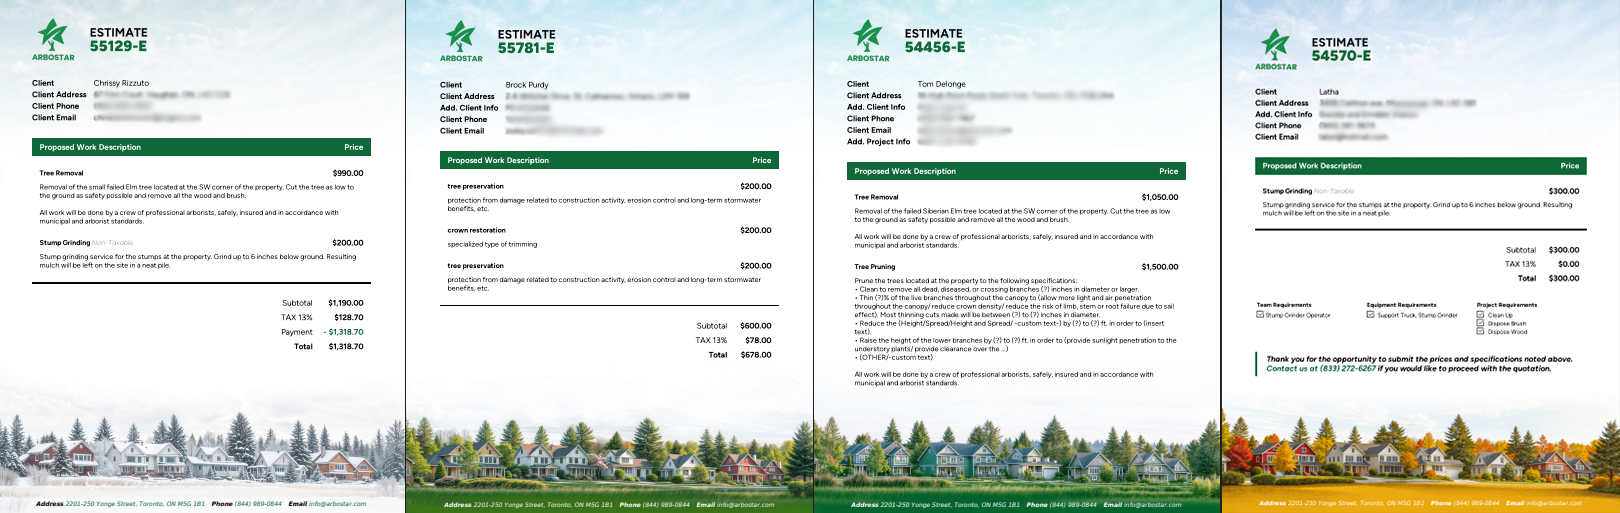
1. To add a new custom template, choose a template style from the dropdown
- Winter, Spring, Summer, Autumn.
- New templates: Winter Forest, Spring Forest, Summer Forest, Autumn Forest.
2. Select where it should apply: Estimate, Invoice
3. Set an Active Date Range if needed (e.g., 01/03–31/05).
4. Choose the Client Types this template applies to (Residential, Commercial, Municipal). Lastly, click Save Settings.
When Apply Custom Changes is checked, the system will apply any custom edits or visual adjustments made to the selected template (e.g., fonts, colors, headers). If unchecked, the system will use the original template design without your customizations.
Review Settings
In the Review Settings section, you can add and adjust the review message for the feedback page.
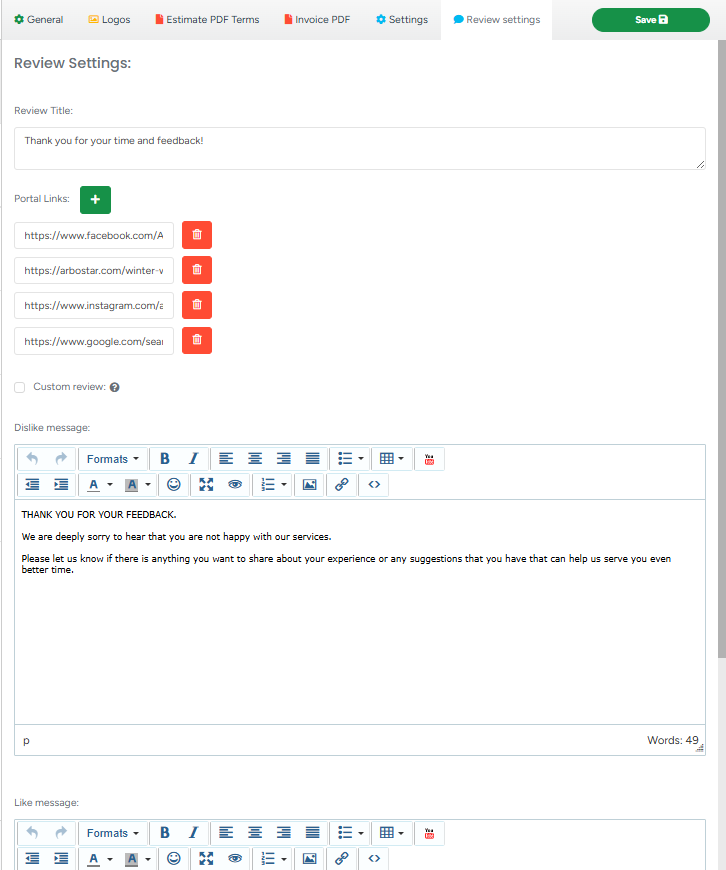
1. You can adjust the review title text, which will be seen on the Portal, once you click on the Feedback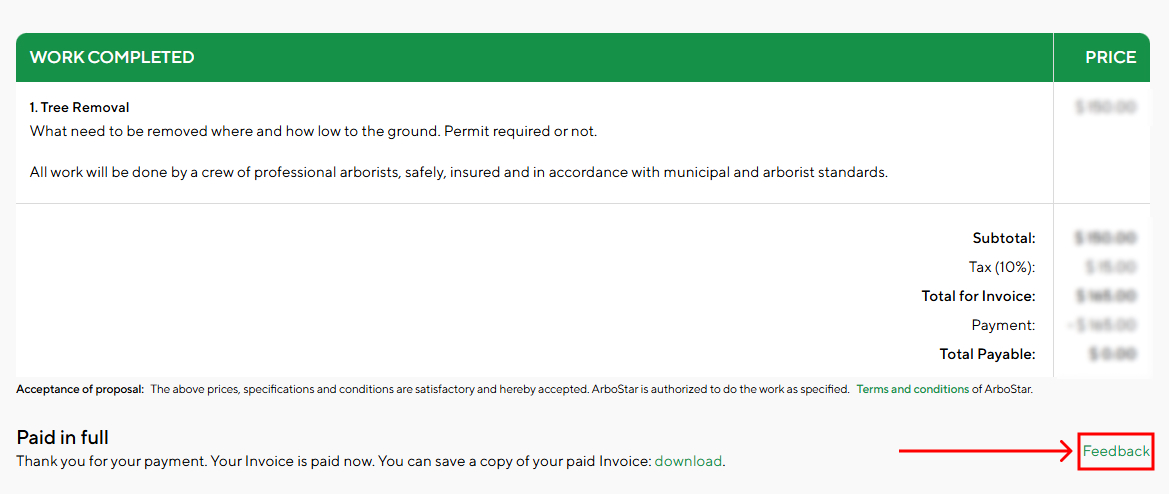

2. Here you can adjust links that will appear in the footer of the Portal page:
- To add a new link, click on the + button.
- To delete an existing link, press the Bin button.
3. Adding a checkmark next to Custom Review allows you to remove likes and dislikes with a custom link and specify a custom button label.
4. Note that you need to add the Like and Dislike messages text separately in the respective sections.
Once you make all the required changes and add the information needed, click on the Save button in the top right corner of the screen to save the changes.