Create and Manage Categories
Categories are used to classify products and services the company sells to customers.
To create a new category, please navigate to the “Estimates” → “Estimates Services” sub-module.
Please note that when a category is created in “Estimates Services”, the category automatically duplicates in the “Estimates Products” submodule and vice versa.
Please click on the “New Category” icon in the top left corner.

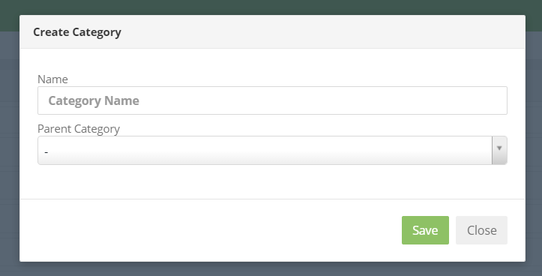
In the pop-up window, please fill in the name and choose the parent category.

A category may serve as a “Parent Category” to another category or group of categories by hierarchically grouping them as “Child” categories. If you do not choose a “Parent Category”, the newly created category will automatically become a “Parent Category” itself.
In the “Parent” category, up to 5 “Child” categories can be added.

- To edit the already existing category, please click on the “Pencil” icon.
- To delete the category, please click on the “Eye” icon.

Services/products can be added into categories in 2 ways.
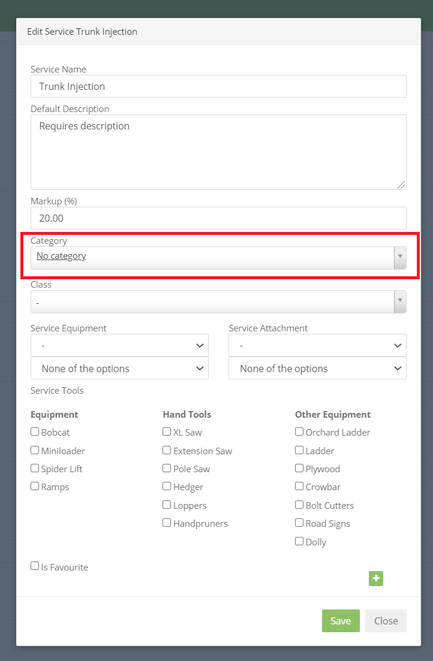
- Please click on the “Pencil” icon next to the service/product and in the “Category” section choose the category.

- You can also add a service/product into a category or a sub-category by clicking on the square next to the service/product and drag and dropping it into the necessary category.

All created categories are synchronized with Quickbooks automatically. There is also an option of manual synchronization of categories with Quickbooks. For that, please click on the “qb” icon and choose the “Push” option.

NOTE: This option is available only once an hour.
Manual synchronization should be used with great care and is available for admins only.
QuickBooks label colors:
- Red - sync failed
- Green - synchronization was successful
- Gray - the entity is not synchronized
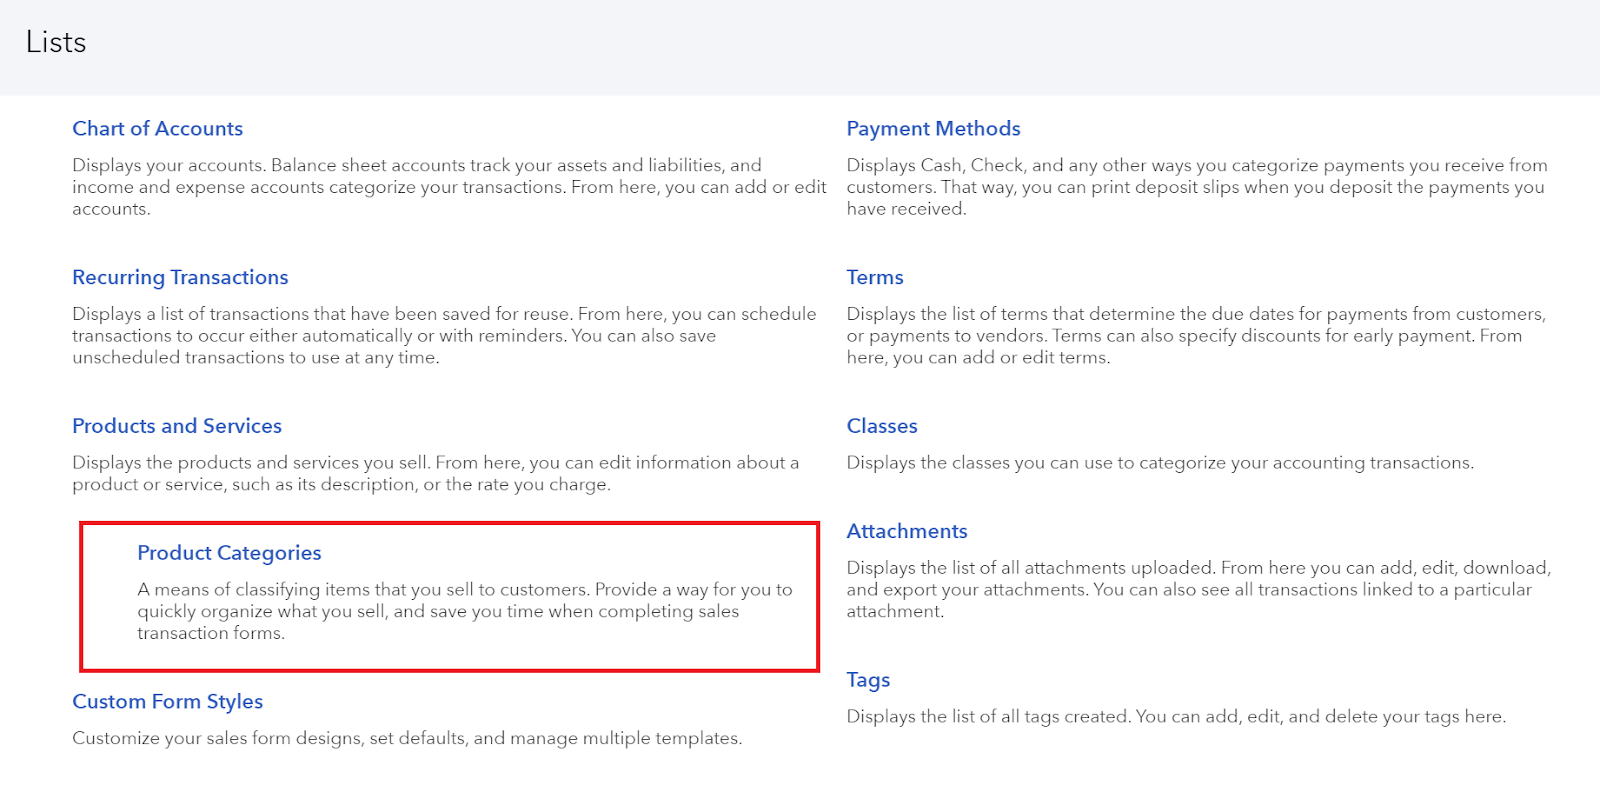
“Product categories” are also available in Quickbooks. To access, please log in to Quickbooks, click on the “Settings” icon in the top right corner, choose “Lists” → “All Lists” and choose “Product Categories”.

Here you will find the list of synchronized categories.

- To edit the category, please click on the “Edit”.
- To delete the category, please click on the “Arrow” symbol → “Remove”.
- To create a new category, please click on the “New Category” icon at the top right corner.

After the category is added in Quickbooks, it will also be synchronized and added to the Company’s domain when two-way synchronization is on.
